A warm welcome to the extreme-angling blog page where you can find articles on extreme-angling
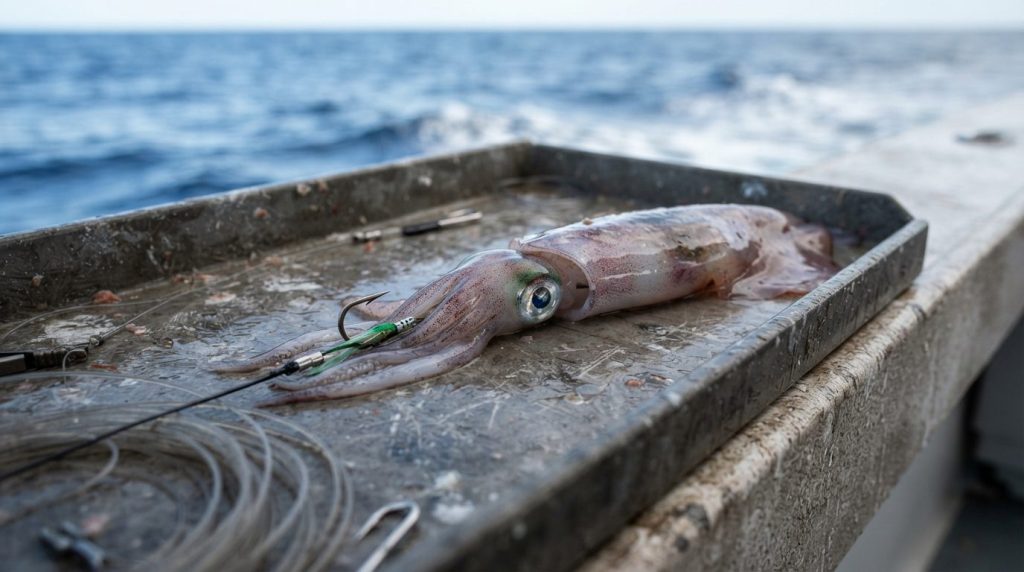
Daytime Swordfish Squid Rigging (Step-by-Step Diagram)
Rig daytime swordfish squid using waxed floss and copper wire. Step-by-step instructions ensure hydrodynamic baits that endure 1,800-foot drops.
Offshore Life Raft Sizing Matrix (Selection Worksheet)
Calculate true offshore life raft capacity and pelagic survival hold times. Use this selection worksheet to match crew size with SAR windows.
Single-Strand vs 49-Strand Mako Leaders (Matrix)
Compare single-strand wire against 49-strand cable for mako sharks. Use our bite shear and kink-failure matrix to match tackle to weight class.
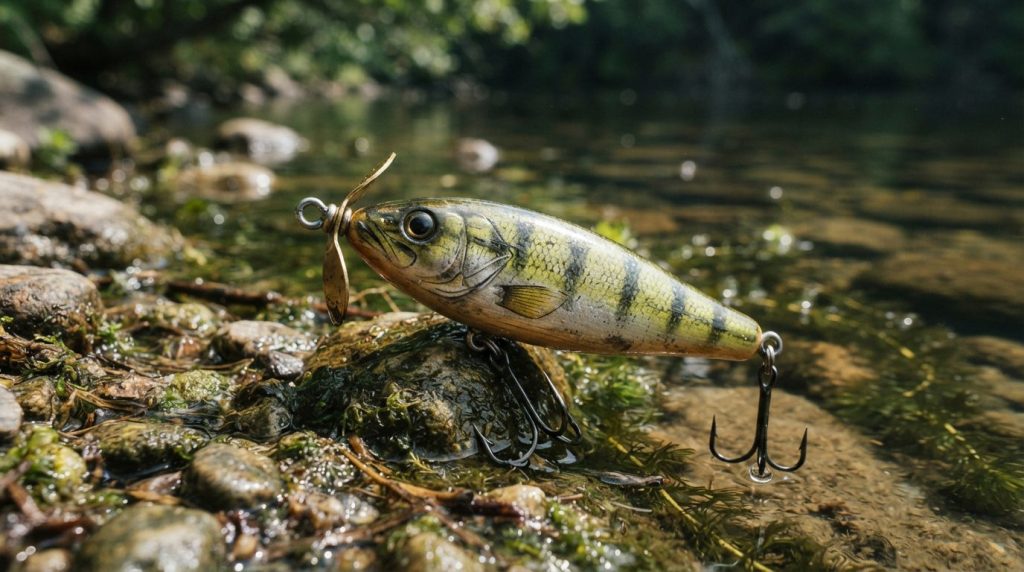
Wolf Fish Prop-Bait Hardware (Complete Upgrade Chart)
Upgrade prop-baits for giant wolf fish without killing surface action. Use this wire-gauge-to-treble chart to prevent bent hooks and pulled split rings.
45lb Copper Trolling Depth Guide (100-160ft Matrix)
Hit deep thermocline lake trout using this 45lb copper trolling depth matrix. Calibrate line-out, trolling speed, and blowback for 100ft-160ft zones.
100-Mile Canyon Fuel Burn Plan (With Worksheet)
Calculate exact fuel burn and safety reserves for 100-mile offshore canyon trips. Use our field-tested calculation worksheet before untying the lines.
Lingcod Breakaway Sinker Matrix: Mono vs Depth (Chart)
Select the exact breakaway mono pound-test for deep lingcod. Prevent lost terminal tackle using our sinker mass, depth, and hydrodynamic drag matrix.
Musky Trolling Depth: Line Out vs Speed (Depth Chart)
Calculate exact running depths for Pounder Bulldawgs and 10-inch Believers at 2.5 to 4.5 mph. Target trophy muskies with this verified depth chart.
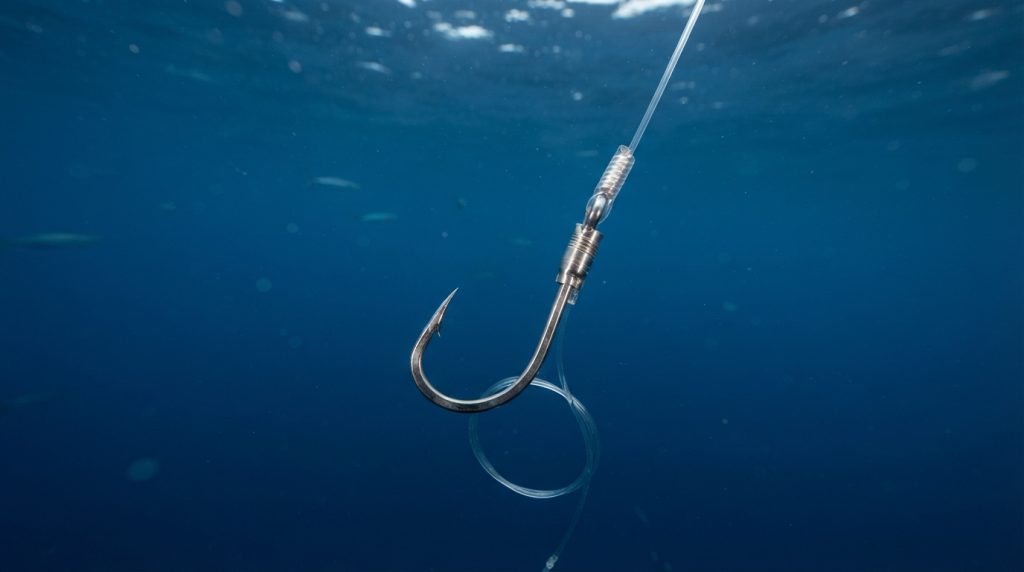
Grander Marlin Stiff-Rig Guide: 1 vs 2 Hooks (Blueprint)
Build IGFA-compliant grander marlin stiff rigs. Compare single vs 180-degree double hook dynamics, heat-shrink ratios, and cable tension specs.
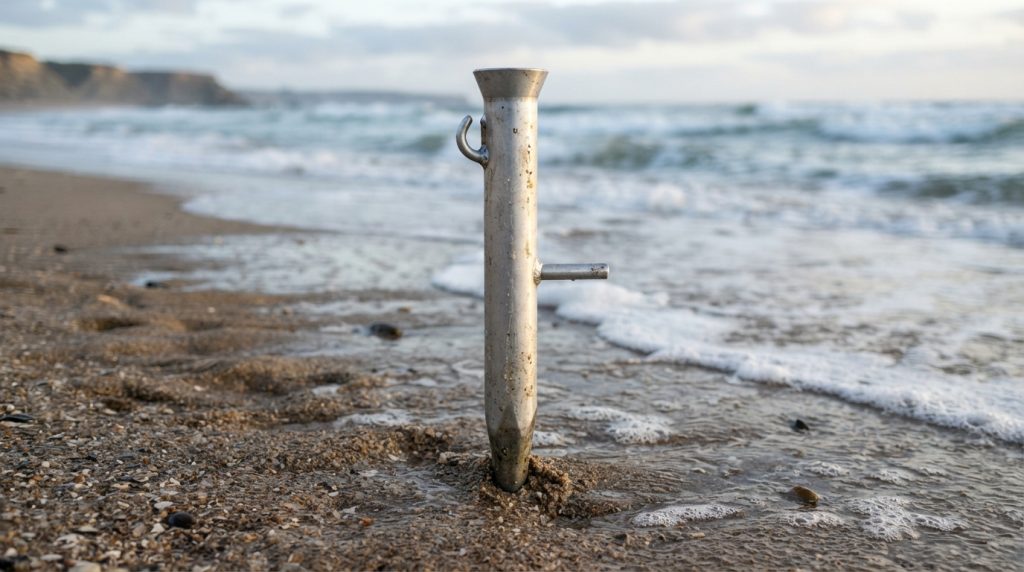
Surf Spike Load vs 40lb Drag (Angle & Load Chart)
Calculate sand spike yield strength against 40lb-plus drag. Compare aluminum vs PVC limits and use our angle-load chart to prevent surf failure.
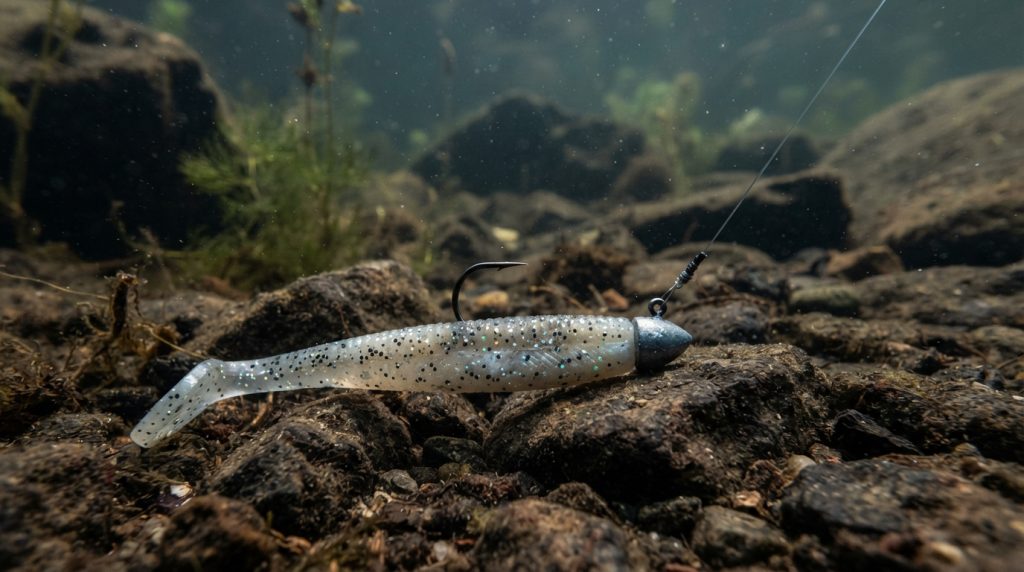
Lake Trout Tube Jig Drop Rate Matrix (60-150ft Worksheet)
Calculate exact drop rates for giant lake trout tube jigs from 60ft to 150ft. Use our field-tested weight matrix to stay in the strike zone longer.
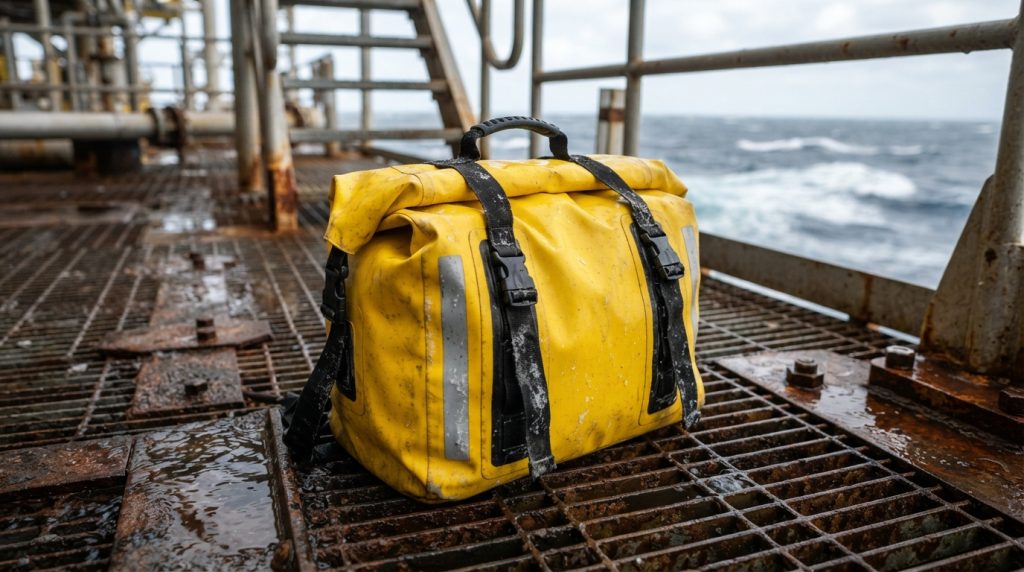
60-Mile Canyon Ditch Bag Inventory (Packing Checklist)
Pack your offshore ditch bag for runs 60+ miles out. Use this survival gear inventory and printable packing checklist to stay alive if disaster strikes.

Giant Snakehead Buzzbait Tuning (Blade Chart)
Tune buzzbait cup depth, rivet crimp, and squeak acoustics for stained jungle water with this complete giant snakehead blade modification chart.
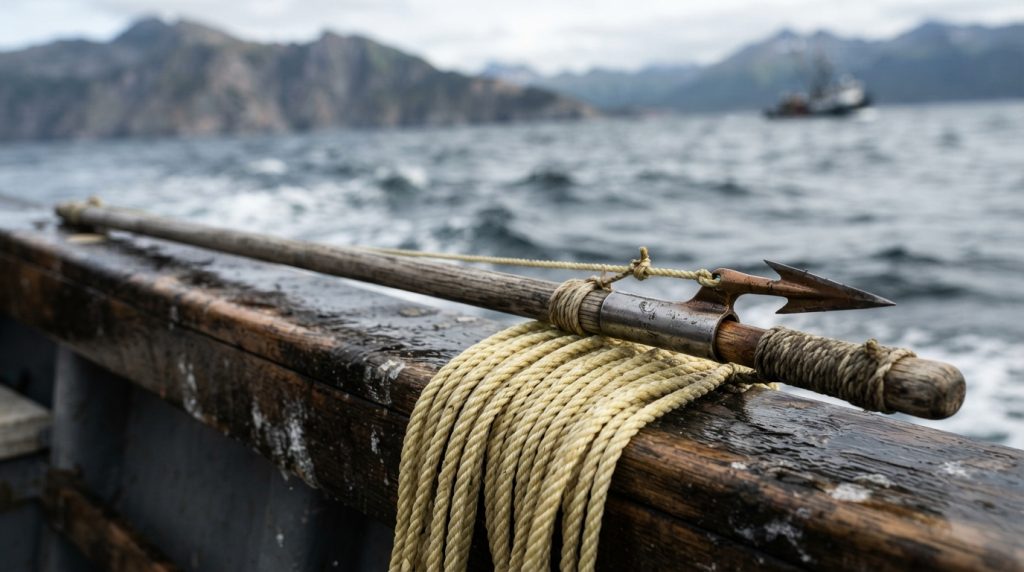
Kayak Halibut Harpoon Rigging (Blueprint & Chart)
Rig a fail-safe kayak halibut harpoon system and size your float line with our verified specs, depth-to-drag ratios, and complete gear blueprint.
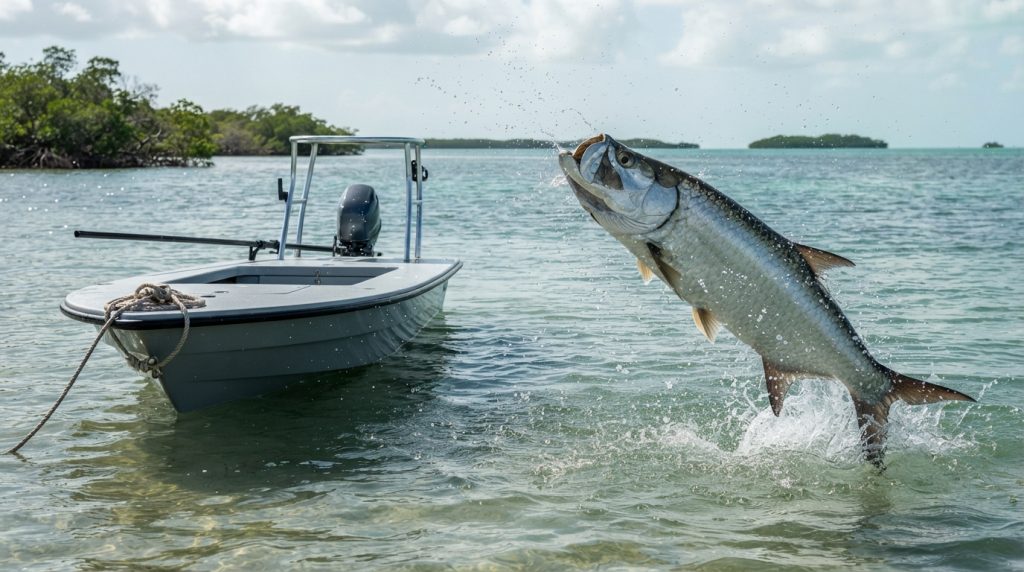
Tarpon Shock Tippet Guide: 60 vs 80 vs 100lb (Matrix)
Compare 60lb, 80lb, and 100lb fluorocarbon shock tippets for tarpon. Master bite tippet lengths, knot strength retention, and tooth abrasion limits.
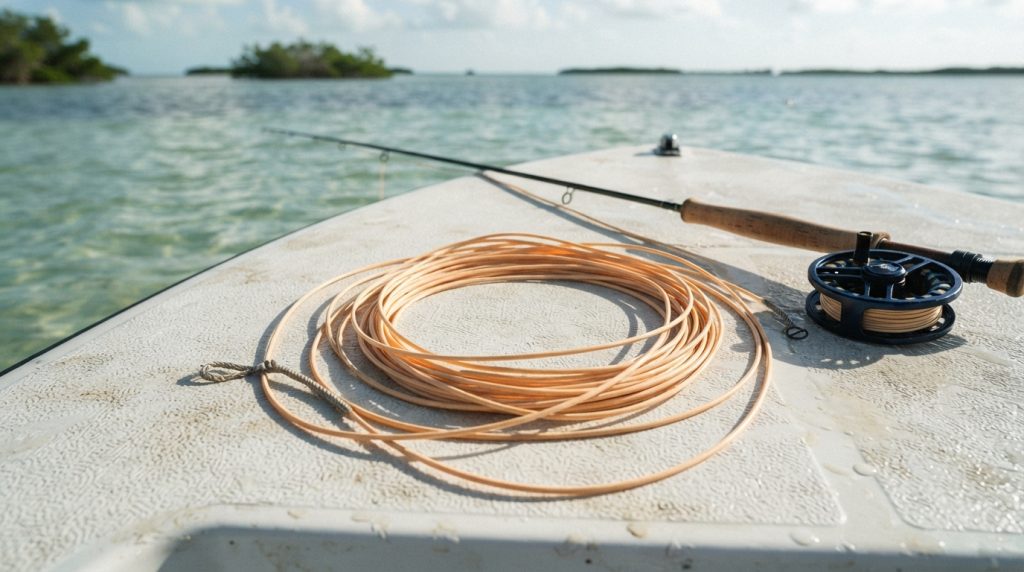
Poling Skiff Deck Setup: Stop Tarpon Line Snags (Checklist)
Clear your skiff deck and prevent catastrophic line snags during 100lb+ tarpon hooksets using this battle-tested deck management checklist.
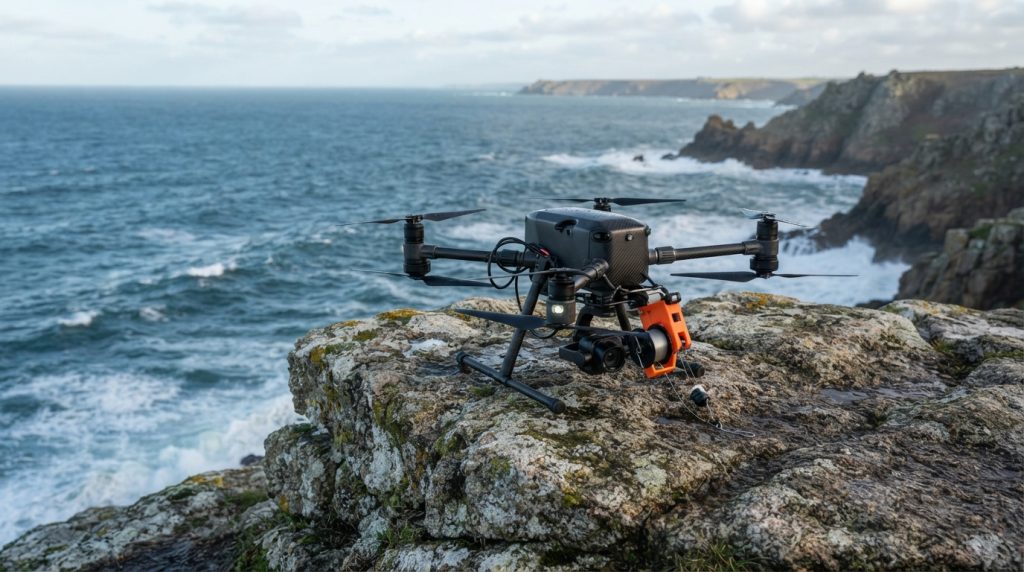
Cliff Drone Fishing Safety Checklist (Abort Protocol)
Master cliff drone fishing with this complete pre-flight checklist and real-time abort protocol to protect your gear and survive high-risk ledge launches.
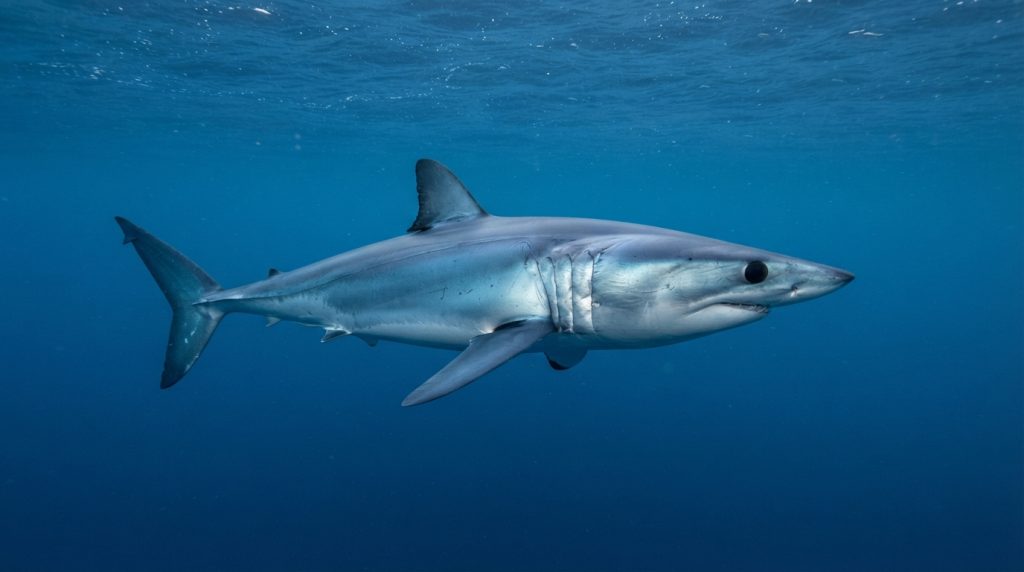
Mako Drift Slick Matrix for 3-Knot Currents (Chart)
Deploy a 4-rod staggered drift slick in 3-knot currents. Get precise balloon float depths, distance spacing, and weight formulas to stop line tangles.
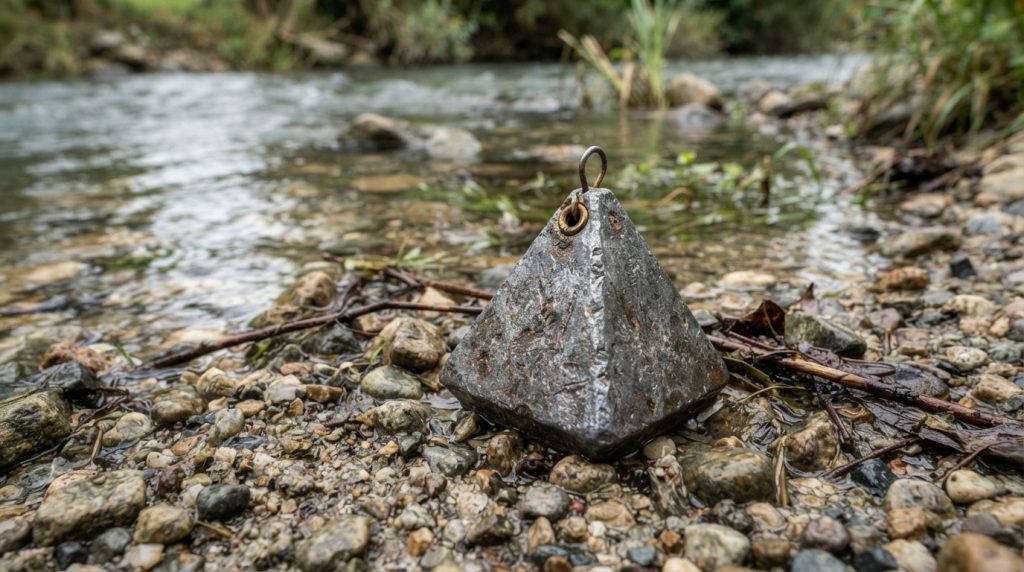
Fraser River Sturgeon Sinker Table: 16-36oz (Worksheet)
Calculate exact breakaway sinker weights for 6-8 knot Fraser River currents. Match 16oz to 36oz pyramids to depth, line drag, and bottom holding power.
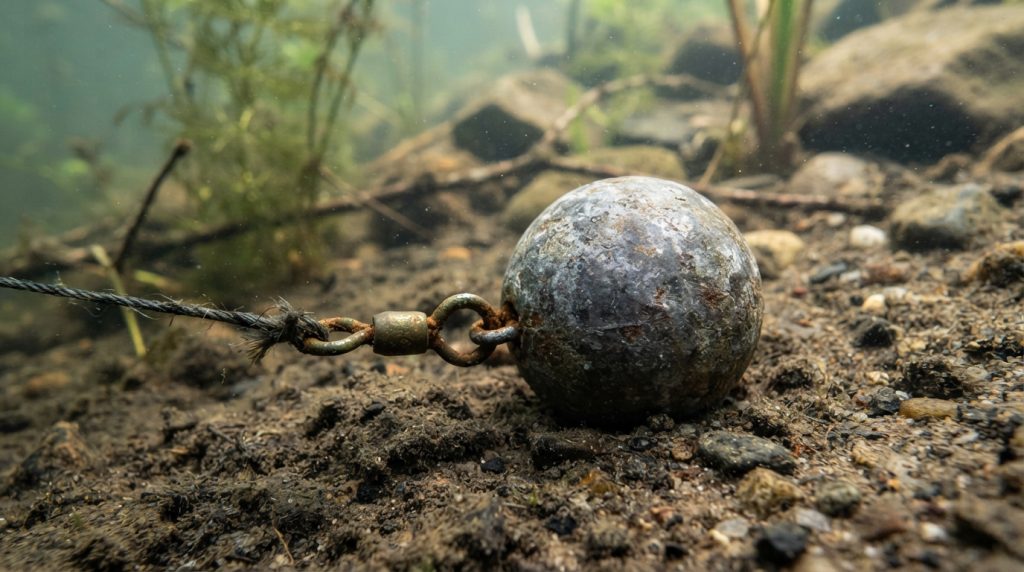
Halibut Drift Calculator: Braid vs Lead (Field Chart)
Calculate deep-water drift angles for halibut at 300–500 feet. Compare 65lb, 80lb, and 100lb braid drag to select the exact sinker weight needed.
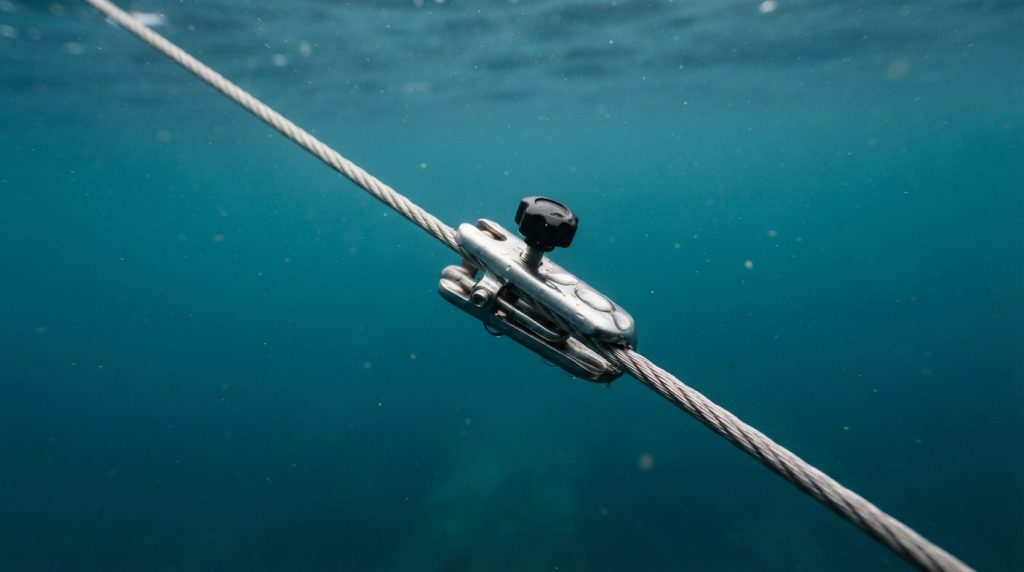
Clip Gram-Tension Calibration: Sinker vs Swell (Table)
Calibrate downrigger release clips accurately. Use our gram-tension table cross-referencing sinker weight and swell surge to stop false releases.
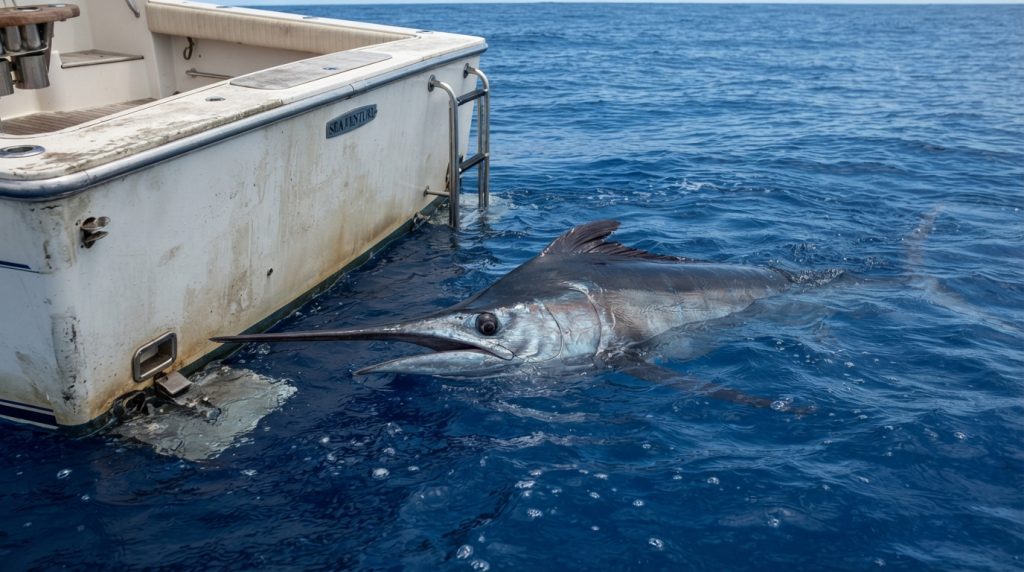
GBR Grander Leader Chart: Mono Sizing by Sea State (Table)
Select the exact mono pound-test and wind-on leader length for GBR grander black marlin across rough, moderate, and calm Coral Sea conditions.

Amazon Floatplane Gear Weight Budget (Worksheet)
Calculate your exact float-plane baggage payload with this gear gram-counter and manifest worksheet. Stay under strict 15-kilogram limits with ease.
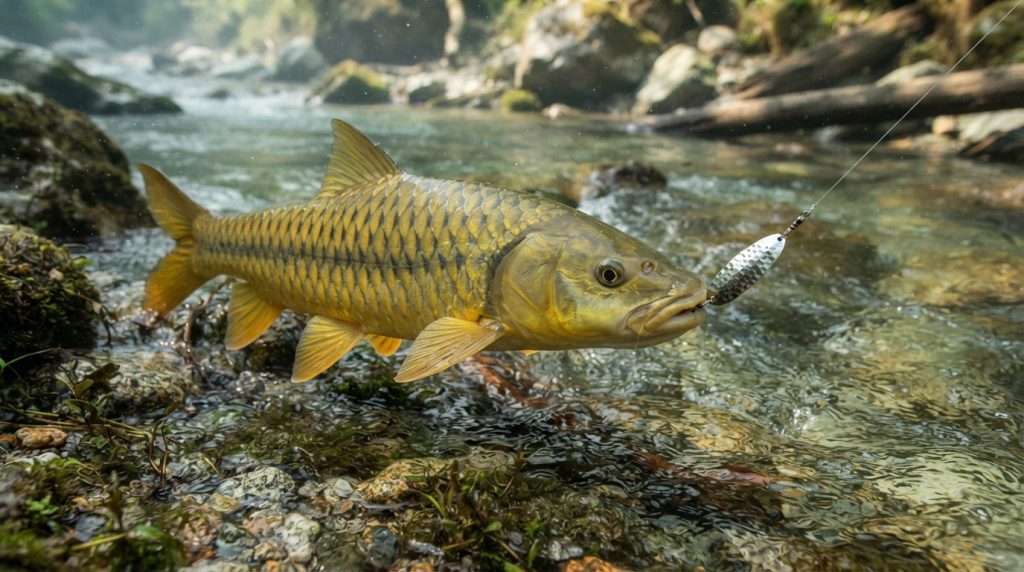
Mahseer Spoon & Inline Hook Guide (Conversion Chart)
Size spoons and match heavy-duty inline single hooks for Golden Mahseer. Includes split ring pound-test specs and full conversion chart.
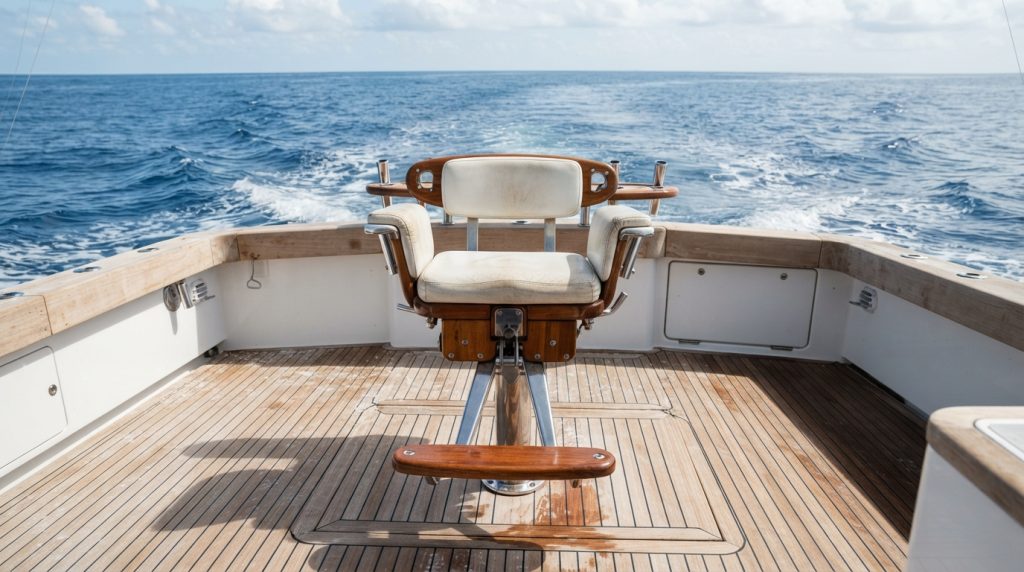
Fighting Chair Clearance: 80W vs 130W (Chart)
Calculate minimum cockpit radii for 80W and 130W fighting chairs. Use our swing clearance chart to prevent transom pinches and gear hang-ups.
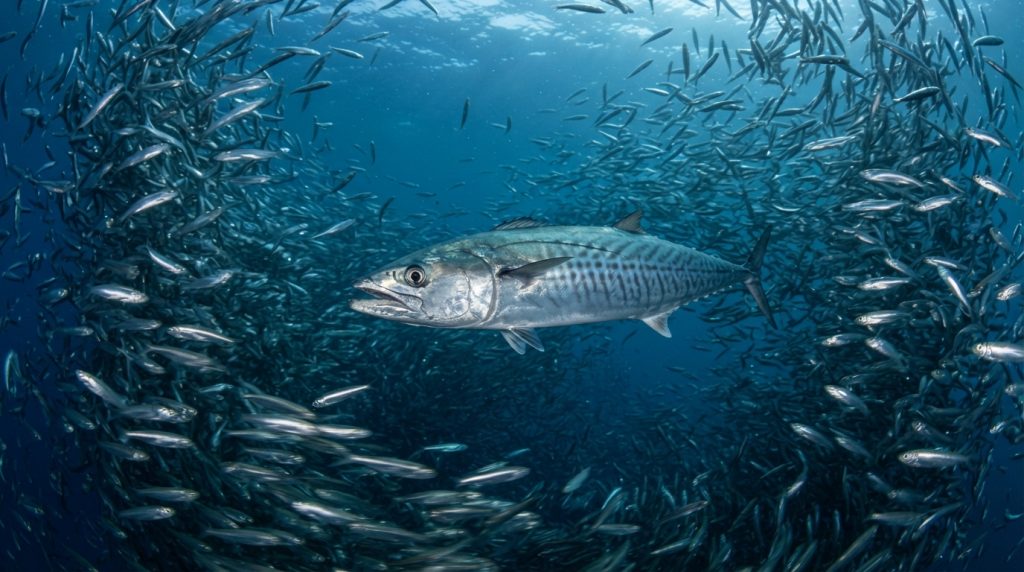
Thresher Drop-Back Delay Timing (With Chart)
Calculate exact thresher drop-back delays by bait size. Use this free-spool timing chart for bridled baits to lock circle hooks in the jaw cleanly.
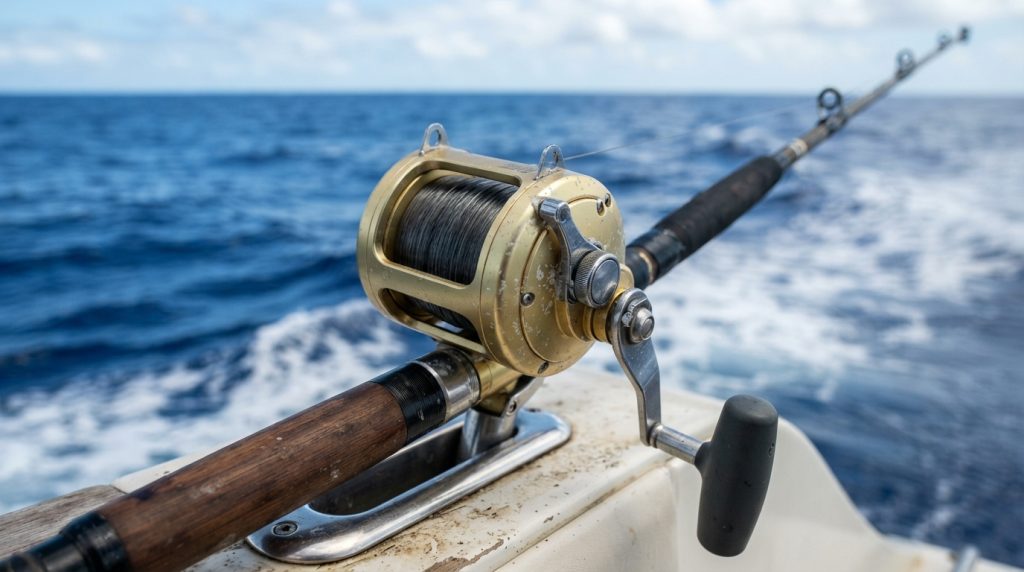
Bluefin Hollow-Core Splice: 40-60lb Drag Chart (Guide)
Build rock-solid hollow-core splices for 40-60lb bluefin drag. Use exact serving lengths, thread deniers, and bobbin tensions from our tension chart.
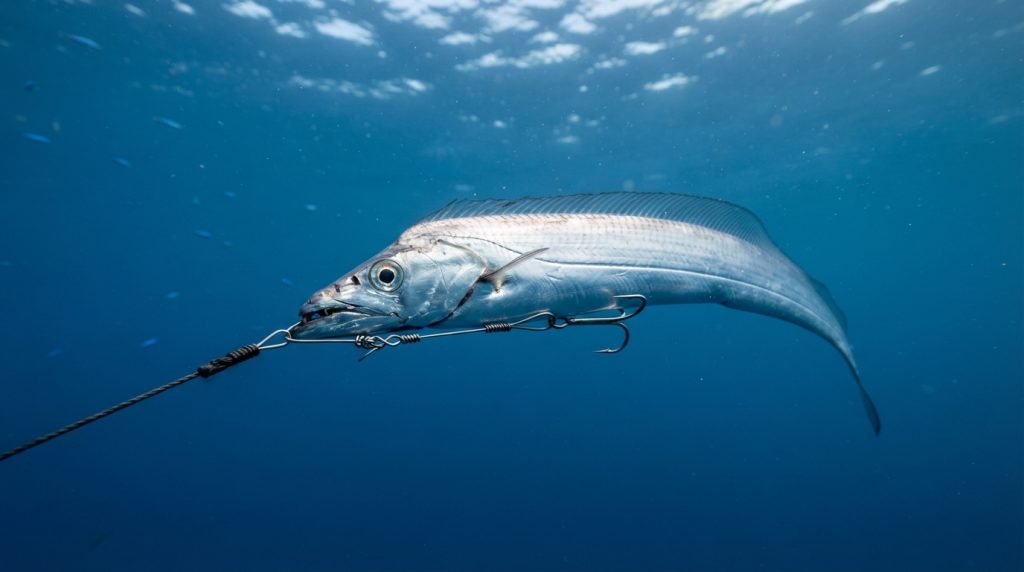
Ribbonfish Stinger Spacing for 24-40 Inch Baits (Chart)
Rig live ribbonfish for king mackerel with exact wire lengths. Get hook spacing blueprints, leader specs, and crimping charts for 24-40 inch baits.
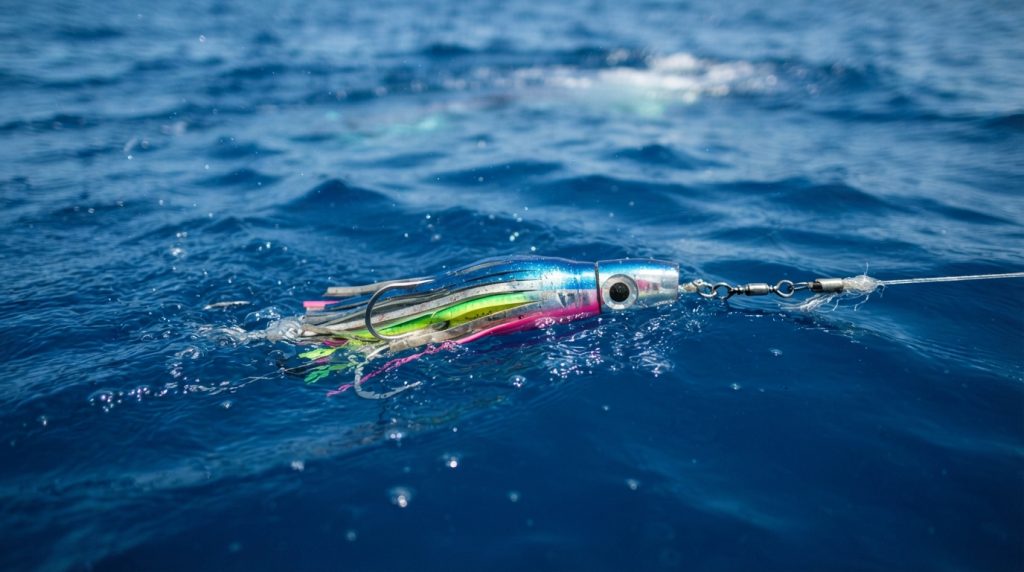
5-Lure Marlin Spread Distance Chart (7-9.5 Knots)
Master wave face placement for a 5-lure blue marlin spread. Calculate exact distances from 7 to 9.5 knots with our complete trolling chart.
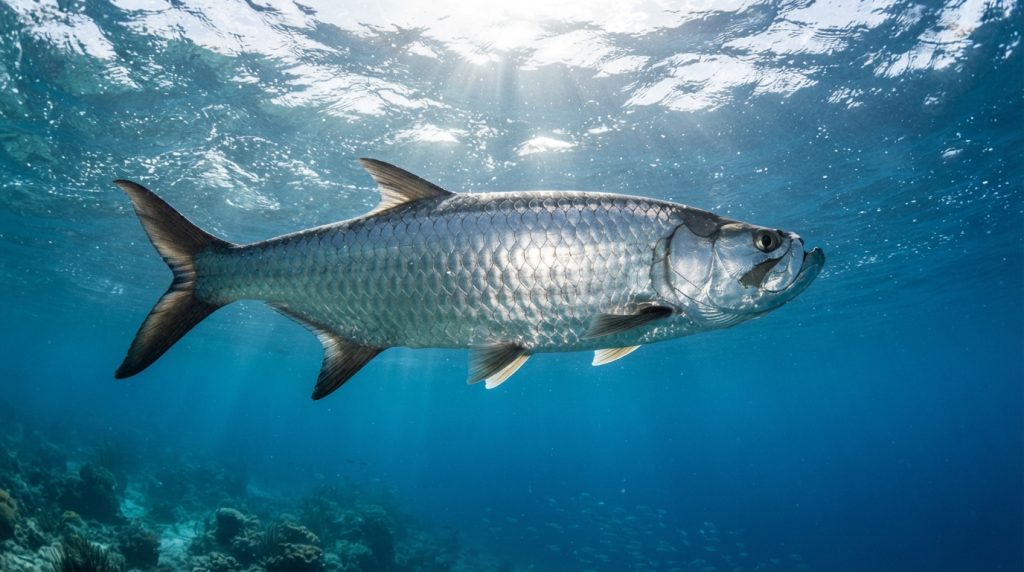
Tarpon Fly Sinking Rates: Lead Distance Math (Chart)
Calculate tarpon fly sink rate, current drift, and lead distance with precision. Master strip cadence to present flies at the exact strike depth.
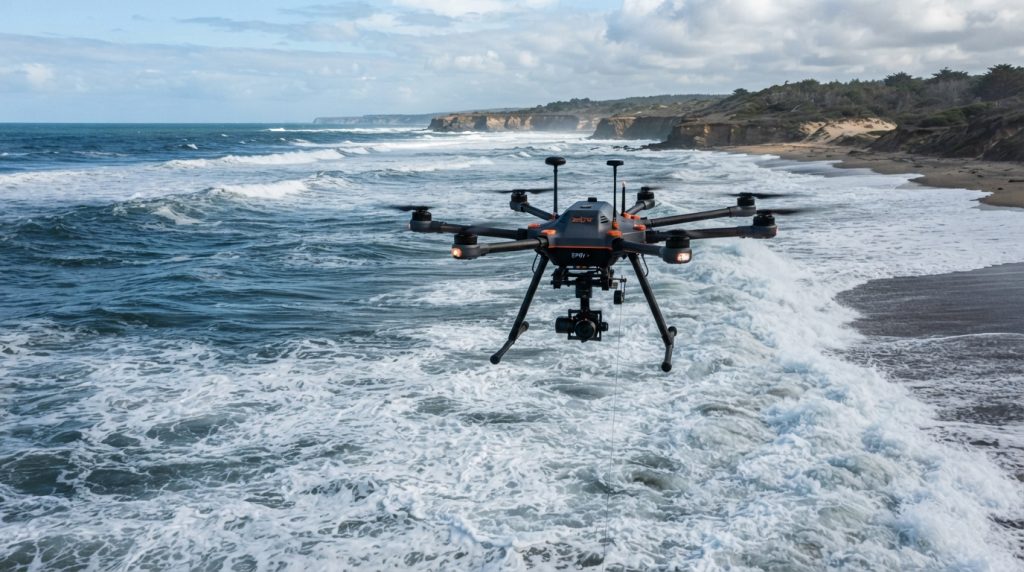
Drone Bait Drop Payload Guide (With Calculator)
Calculate drone battery draw against ray bait weight in 15-25 knot winds. Prevent battery drops with our headwind power consumption matrix.

Class IV Himalayan Sinker Rig: Tension Guide (Cord Chart)
Calculate stone-tie breakaway poundage for Class IV rapids. Master Himalayan sinker knots, release tensions, and save heavy terminal tackle in torrential flows.
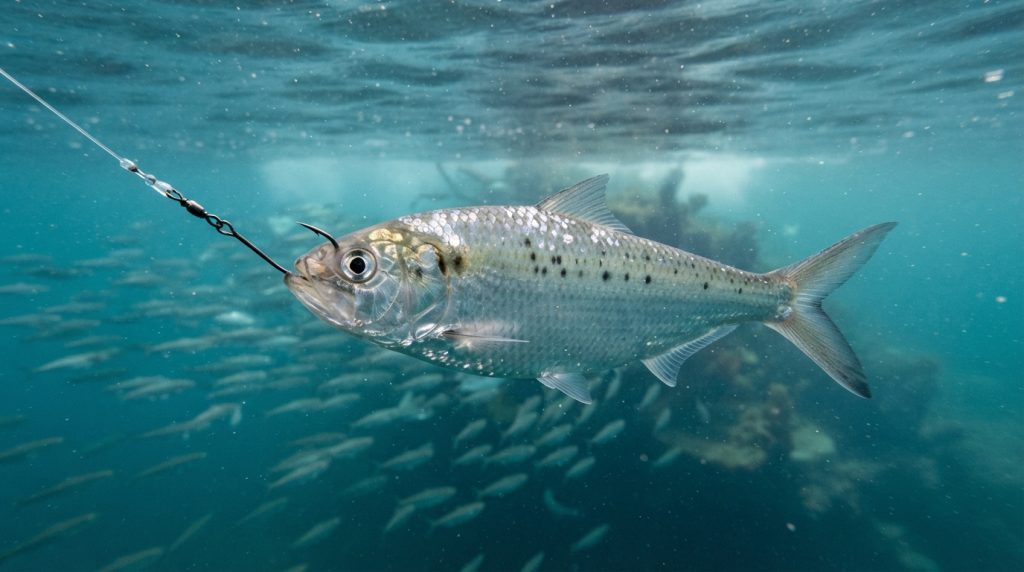
Kingfish Wire Sizing: Malin #3 to #7 Selection (Matrix)
Match Malin #3 through #7 stinger wire to bait size and water clarity with this field-tested selection matrix. Eliminate bite-offs and unnatural bait action.
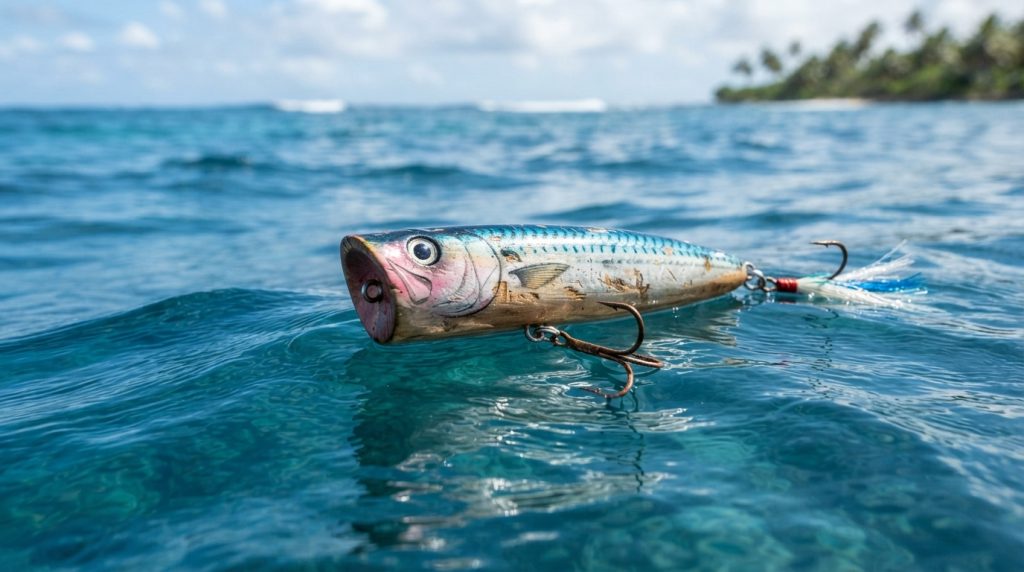
GT Popper Cup Face vs Wave Height: 35-55mm (With Chart)
Select the right GT popper cup face diameter for any sea state. Match 35mm to 55mm chuggers to wave height with our field-tested sizing matrix.
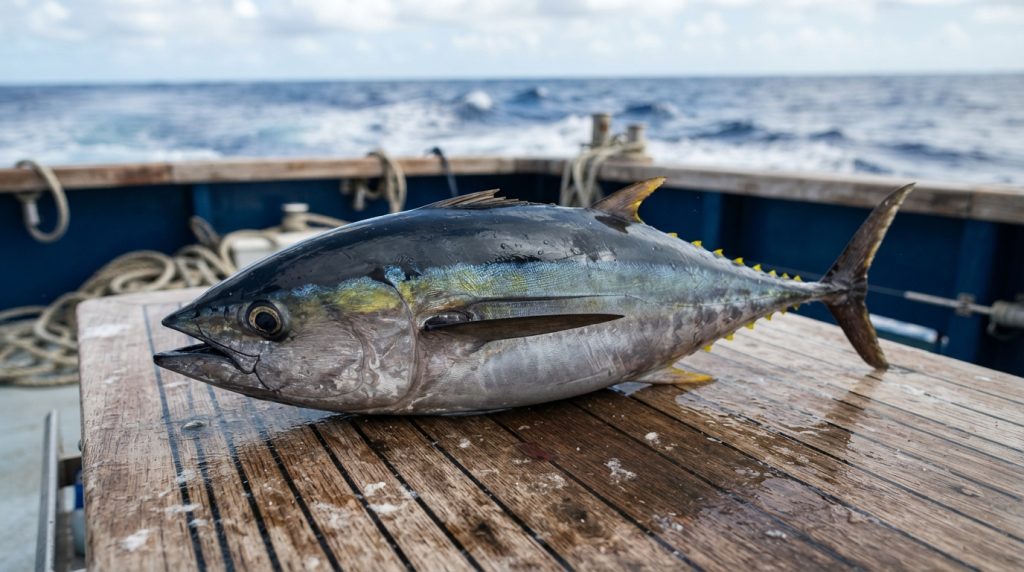
Marathon Humps Tuna: Jig Depth (Calculation Sheet)
Calculate exact jig depth across 2 to 4-knot drifts at the Marathon Humps. Master line angle math and strike zone timing with this calculation sheet.
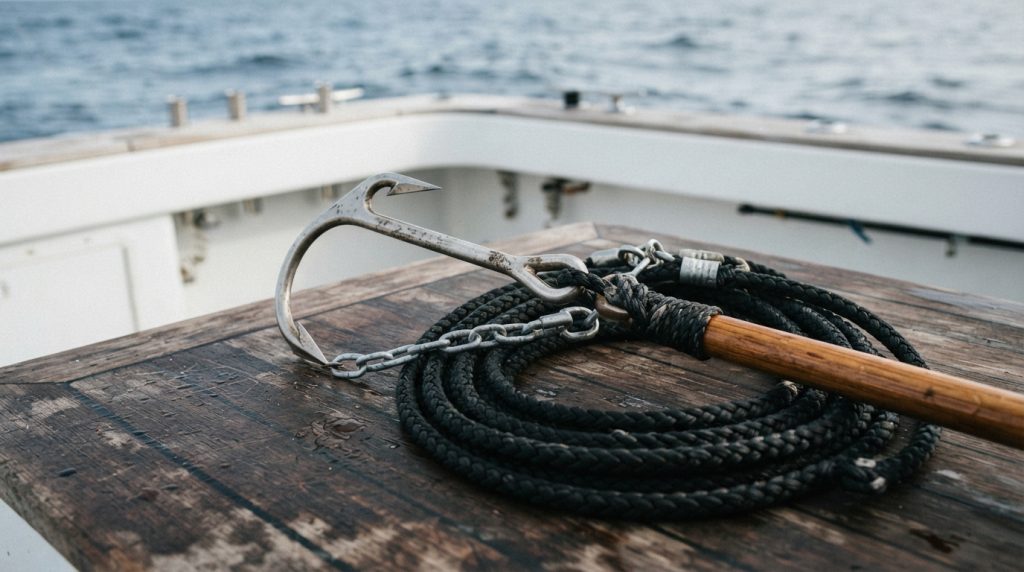
Flying Gaff Tagline Sizing Chart (150-800lb Pelagics)
Select the right flying gaff tagline diameter and tensile rating for 150lb to 800lb tuna and marlin. Prevent snap-offs with our rigging load chart.
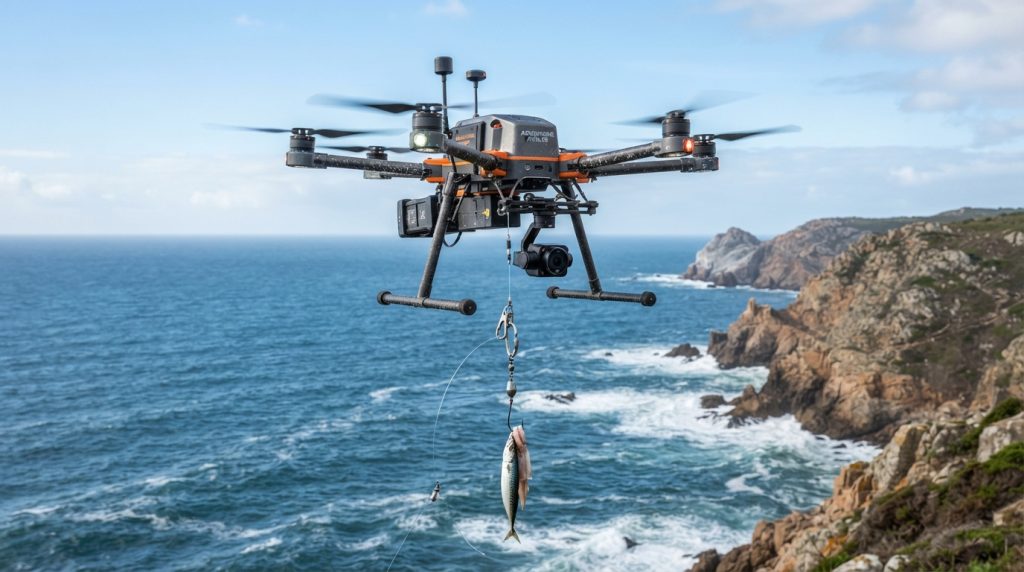
Drone Bait Payload vs Battery Drain (With 500m Chart)
Calculate safe flight limits using our drone payload vs battery drain matrix, featuring a complete 500-meter bait drop and return distance chart.
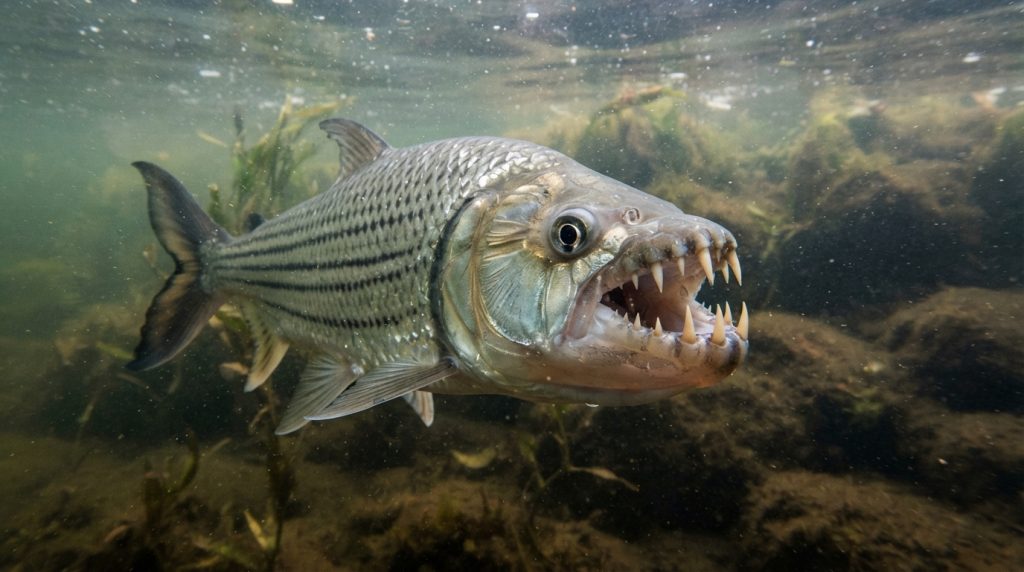
Tigerfish Wire Trace Selection Matrix (5 Tested Rigs)
Select the exact wire trace length, pound-test, and alloy for Zambezi tigerfish lures to prevent cut-offs while preserving critical lure swimming action.
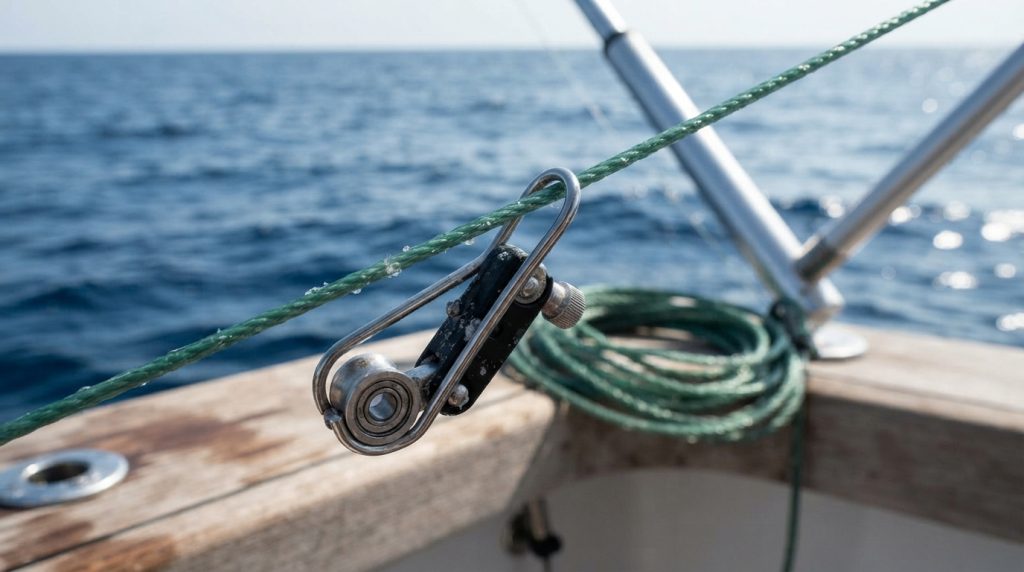
Outrigger Tension Chart: 6oz to 32oz Lures (Scale Guide)
Dial in precise gram-scale outrigger tension for 6oz to 32oz pelagic lures. Prevent false releases and lock in solid hooksets at 7 to 16 knots.
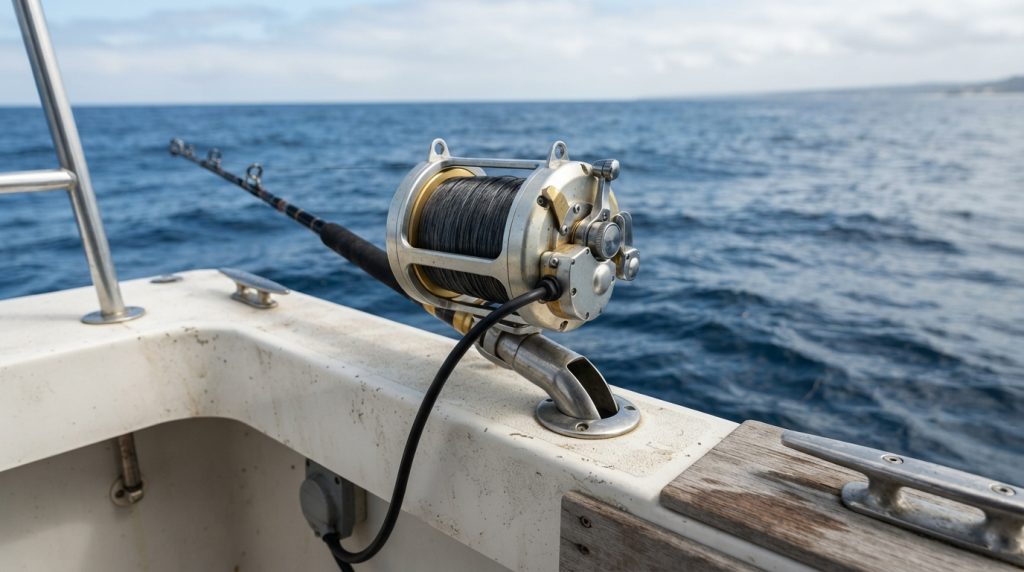
Electric Reel Amp Draw: 12V vs 24V Sizing (With Charts)
Calculate electric reel amp draw and runtime accurately. Compare 12V vs 24V systems and size your lithium marine battery with our sizing charts.
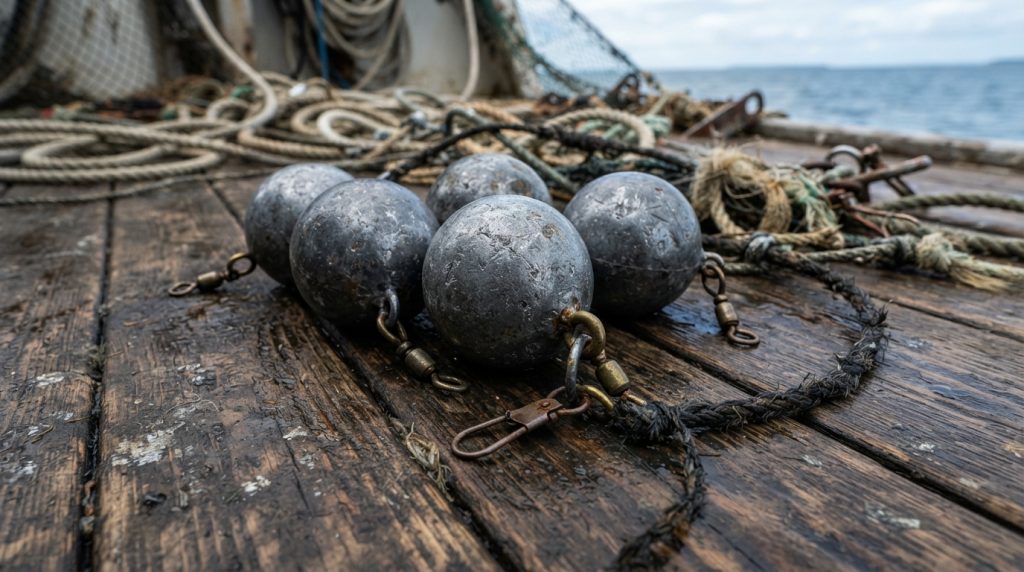
Lingcod Sinker Sizing: 16oz-48oz (Drift Speed Chart)
Size your lingcod sinkers between 16oz and 48oz across 300-700ft depths using our verified drift speed matrix, breakaway rigging, and scope calculations.
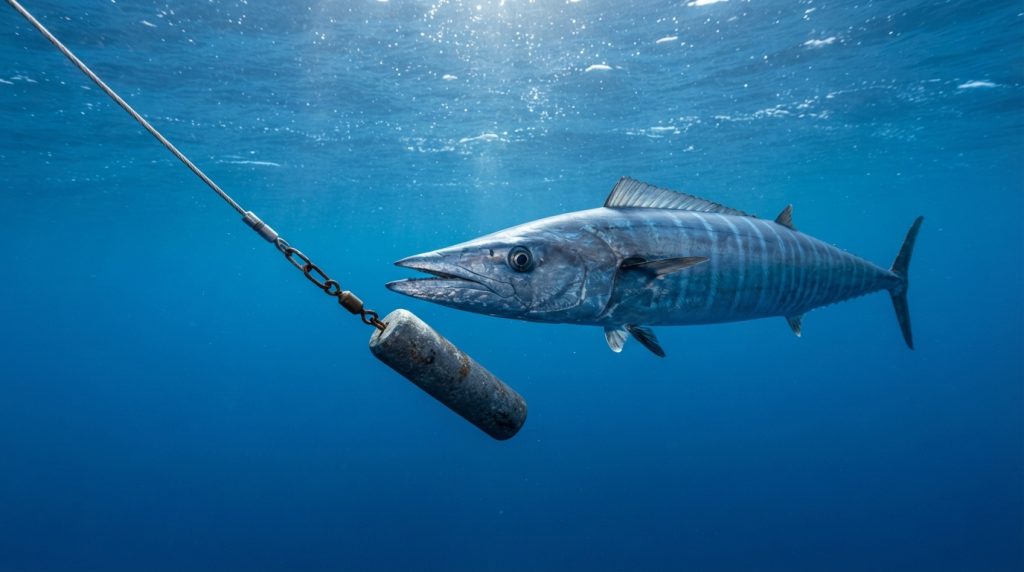
High-Speed Wahoo Sinker Chart (16oz to 96oz Depth Guide)
Calculate exact wahoo trolling depths from 12 to 18 knots. Use our tested 16oz to 96oz lead sinker chart to target strikes in the strike zone.
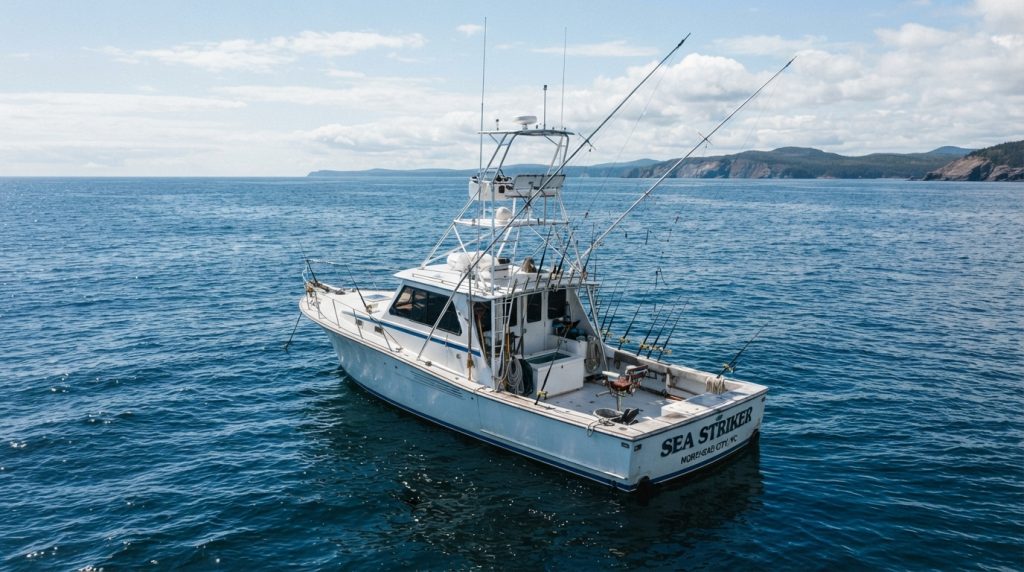
North Lake vs Souris in PEI Gales (Decision Matrix)
Decide between North Lake and Souris tuna charters during PEI’s September gales. Use our harbor comparison table and 30-knot wind decision matrix.

Livewell Sea Chest Blueprint: Valve Sizing (With Specs)
Size livewell manifold valves and eliminate pump airlock with exact plumbing specs, GPH calculations, and our complete sea chest fabrication blueprint.
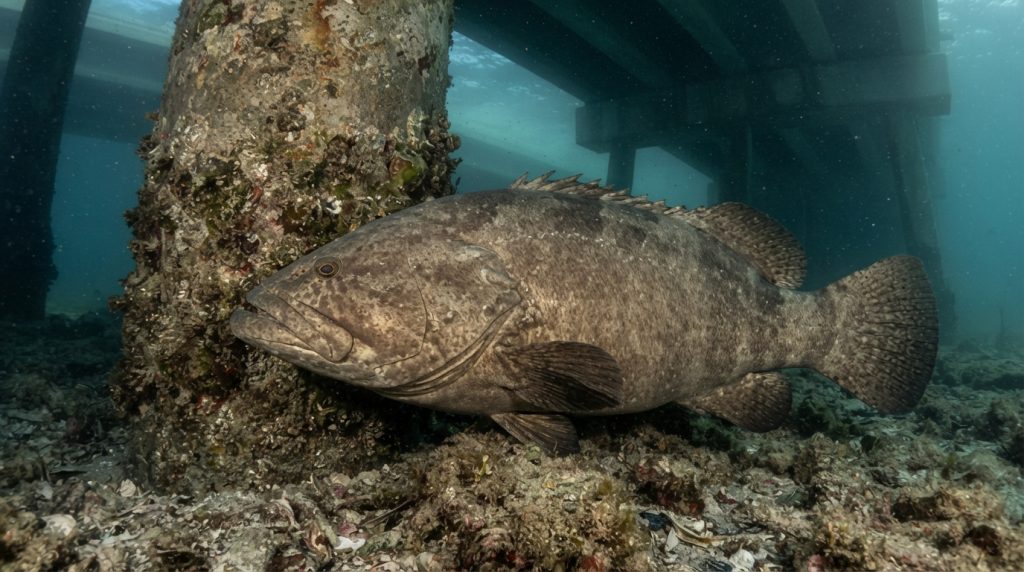
500lb Mono vs 400lb Cable: Goliath Rig (With Test Chart)
Compare 500lb mono and 400lb cable for goliath grouper extraction. Analyze stress-strain load data and pick the optimal terminal bridge rig.

Murray Cod Swimbait Sink Matrix: 150-400g (Depth Chart)
Calculate exact swimbait sink rates for 150g to 400g lures. Use our chin weight depth chart to pin giant Murray cod in deep timber and dam channels.

Kayak Tuna Drag to Bodyweight: Safe Max Strike (Chart)
Calculate safe kayak strike drag for tuna without capsizing. Use our verified drag-to-bodyweight ratio chart to lock in maximum drag settings.
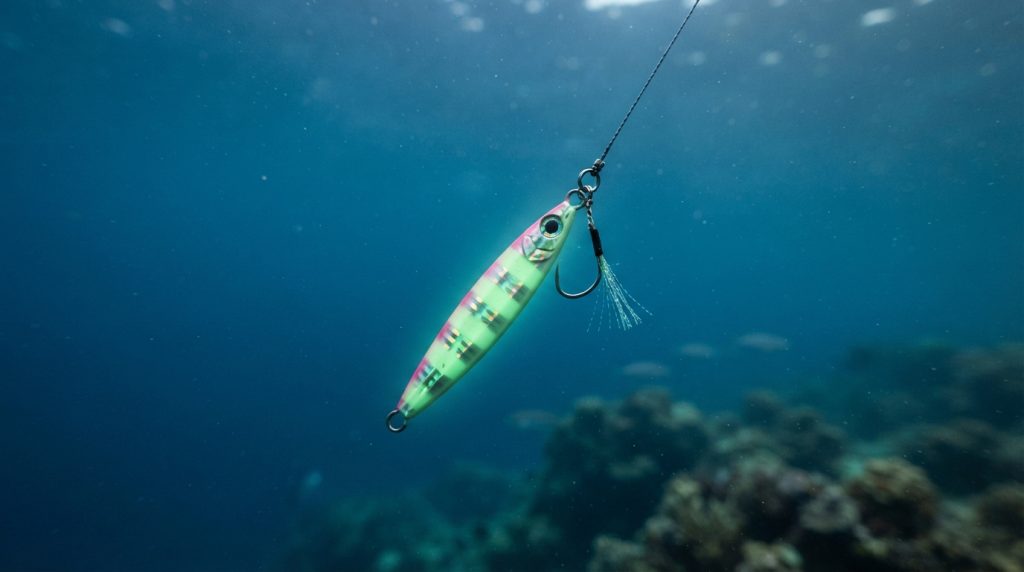
Slow Pitch Jig Weight Chart: 100 to 800 Feet (Chart)
Calculate exact slow pitch jig weights across 100 to 800 feet depths and 0.5 to 3.0 knot drifts. Dial in vertical presentation with our master matrix.
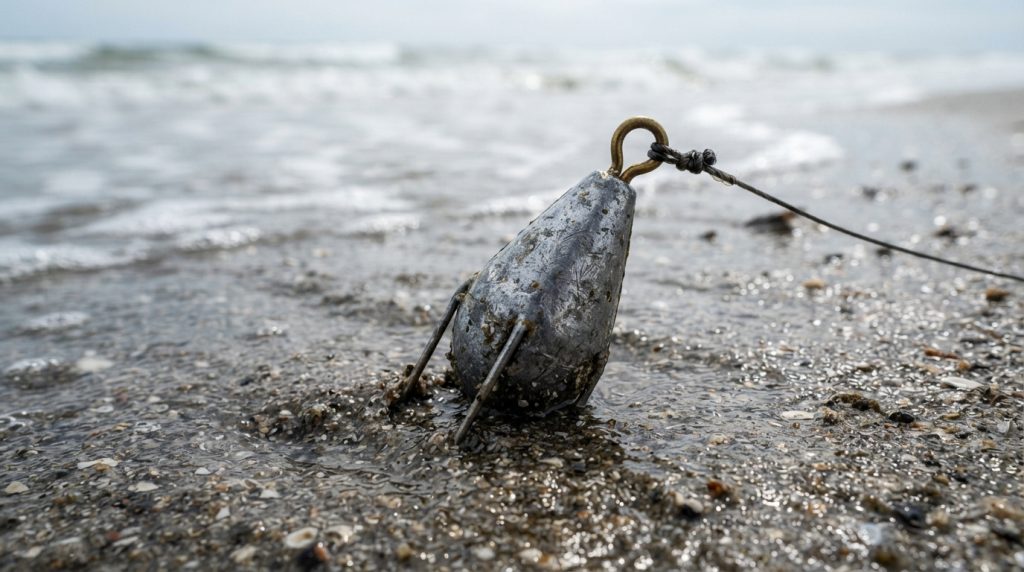
Sinker Weight and Wire Gauge for 3-5 Knot Currents (Chart)
Select the exact breakout sinker weight and wire gauge to hold 3-5 knot surf currents. Stop bait drift with our calibrated field selection chart.
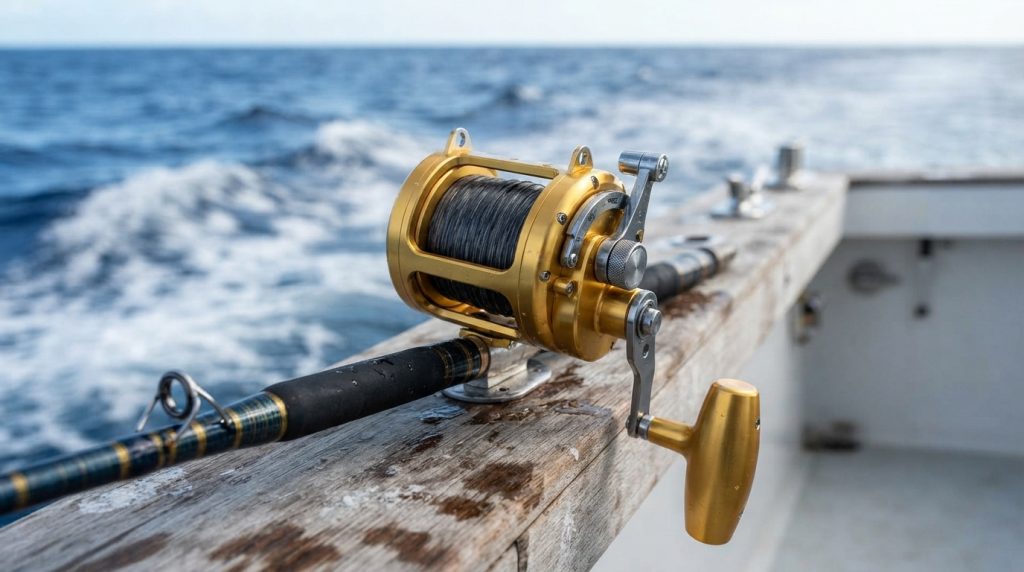
50-Wide vs 130 Marlin Drag Curves (Chart & Worksheet)
Dial in strike and full drag curves for Kona blue marlin on 50W and 130 reels. Includes spool dropoff physics, comparison chart, and tension worksheet.
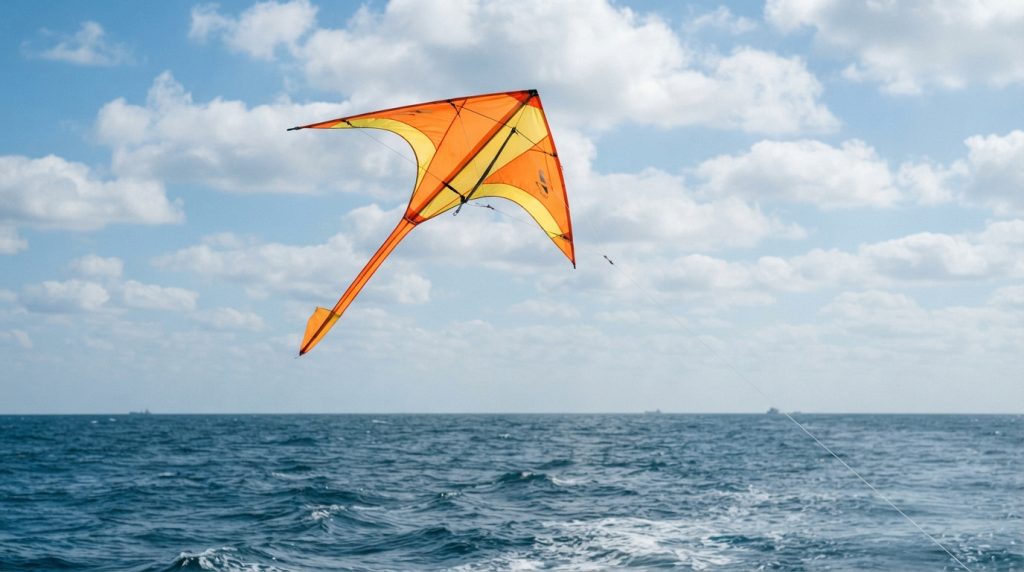
Offshore Kite Selection Matrix: 4-35 Knots (Chart)
Match your fishing kite and weight adjustments perfectly from 4 to 35 knots using this wind matrix to keep baits suspended in any sea state.
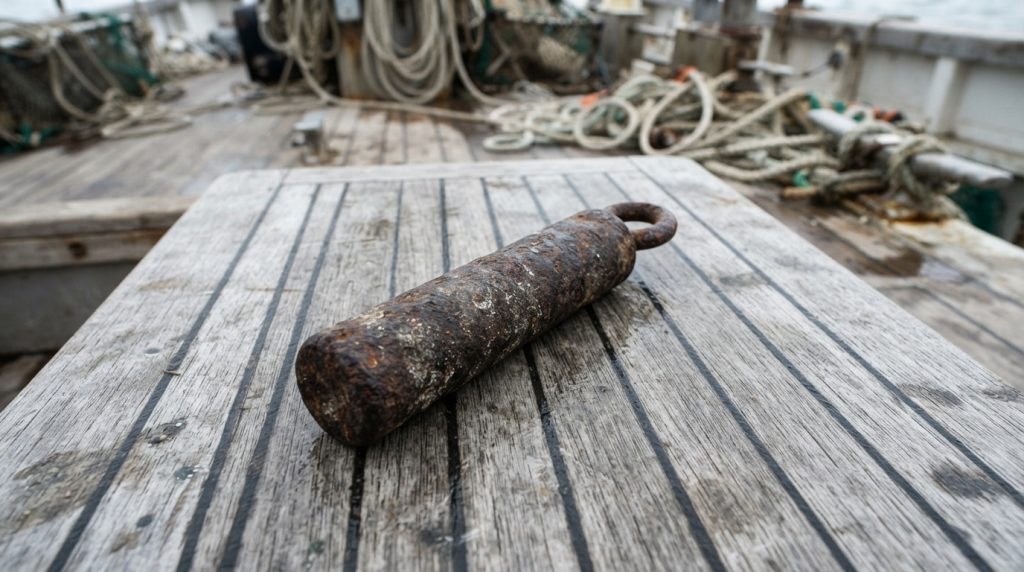
Daytime Swordfish Lead Sizing: 8lb to 18lb (Chart)
Calculate exact lead weight for daytime swordfishing based on current speed and depth. Match 8lb to 18lb sash weights to drift speed in knots.
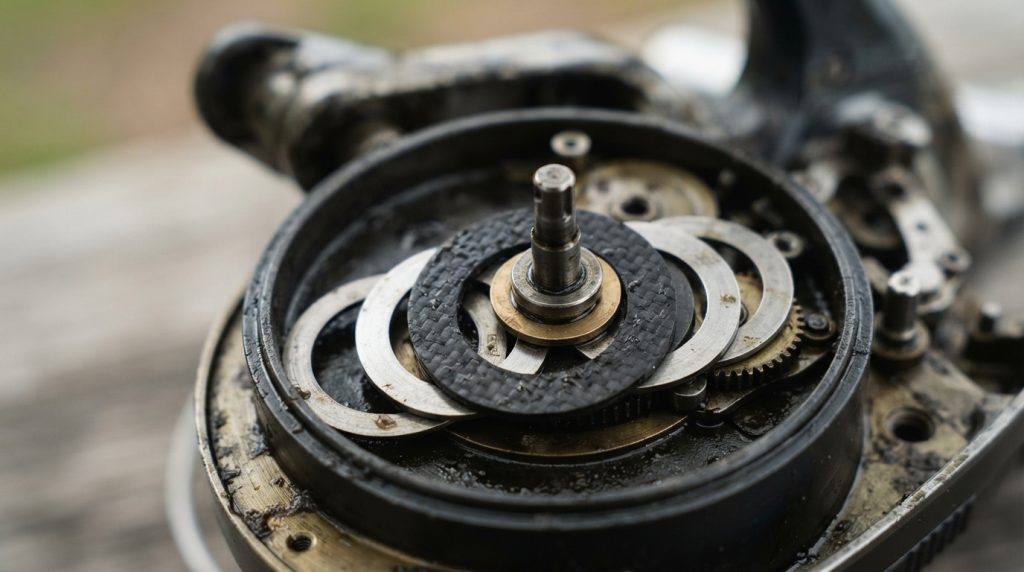
Spinning Reel Drag Heat Chart: Run Times at 35lb+ Drag
Compare max run times before thermal drag fade at 35lb+ drag across top offshore spinning reels with our thermal benchmark chart.
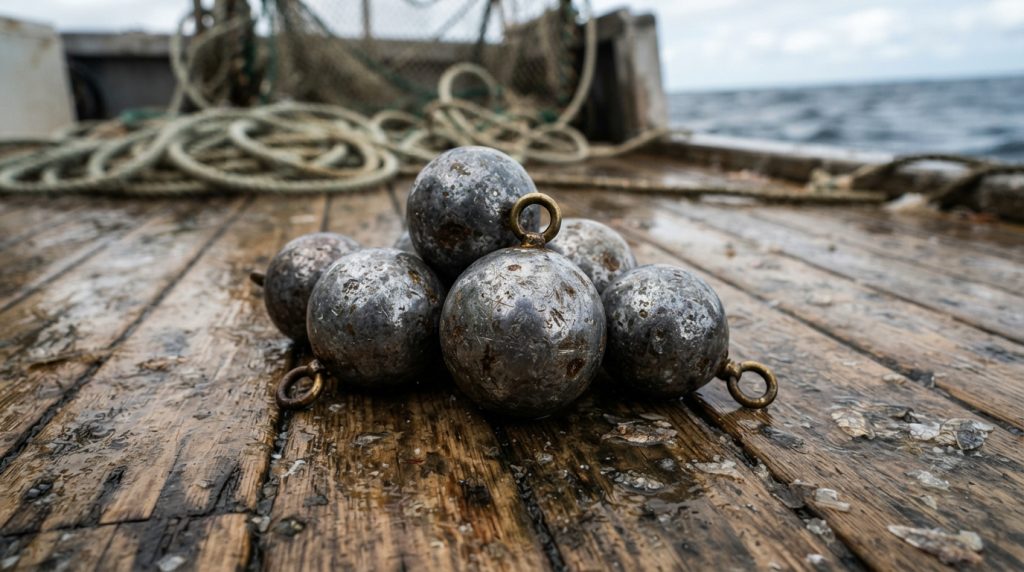
Back-Bouncing Lead Chart: 10 to 25oz (Worksheets)
Calculate the exact lead weight for river depth and current. Use these 10 to 25 ounce back-bouncing worksheets to hold bottom without stalling your bait.
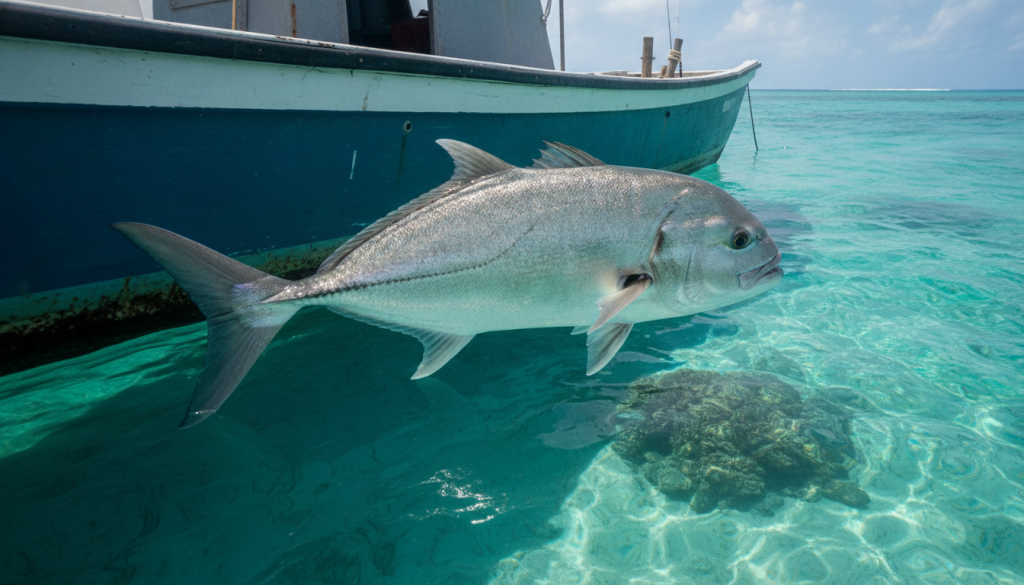
PE8-PE10 GT Shock Leader Formula (Calculator & Chart)
Calculate exact PE8 and PE10 GT shock leader lengths and breaking strains. Compare mono vs fluoro trade-offs to eliminate knot failures on heavy poppers.
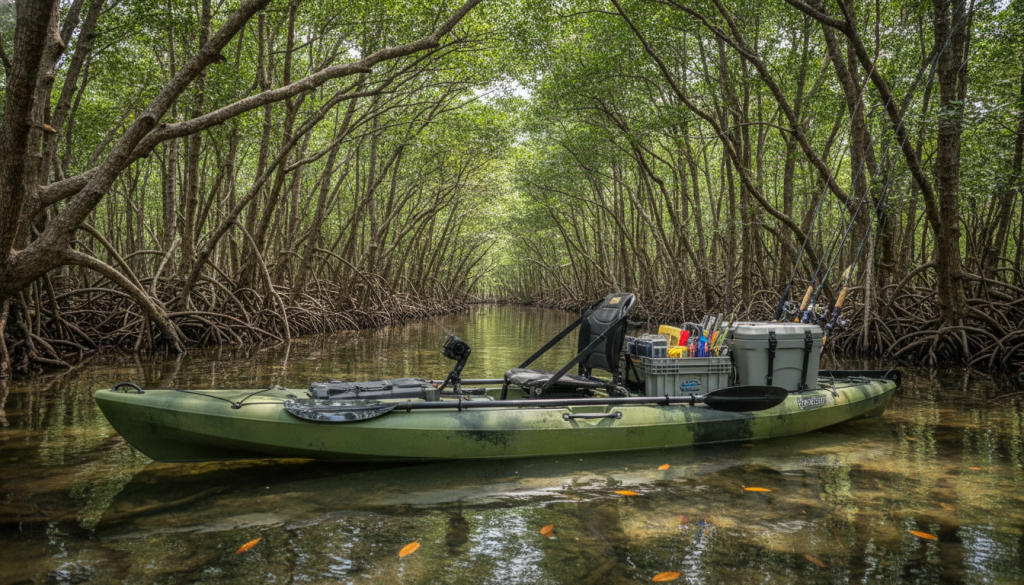
Everglades Solo Kayak Gear & Weight Audit (Checklist)
Calculate payload capacity, water volume, and tackle limits for the 99-mile Everglades Wilderness Waterway with our full solo gear weight audit.
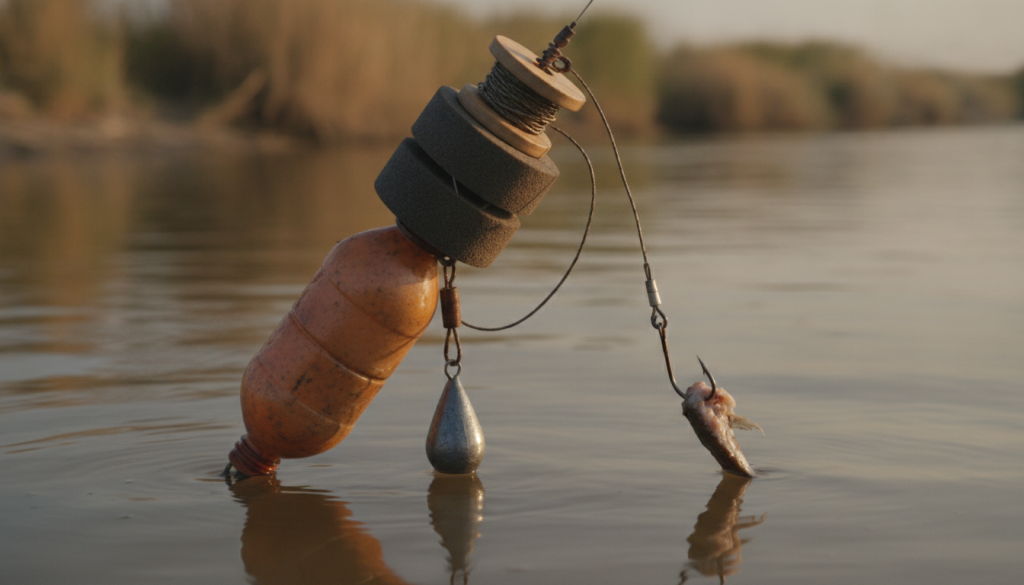
Catfish Buoy Breakaway Line Chart (Full Guide)
Match monofilament breaking strain to bait size and river current for Wels catfish buoy rigs. Prevent false snaps with our rating chart.
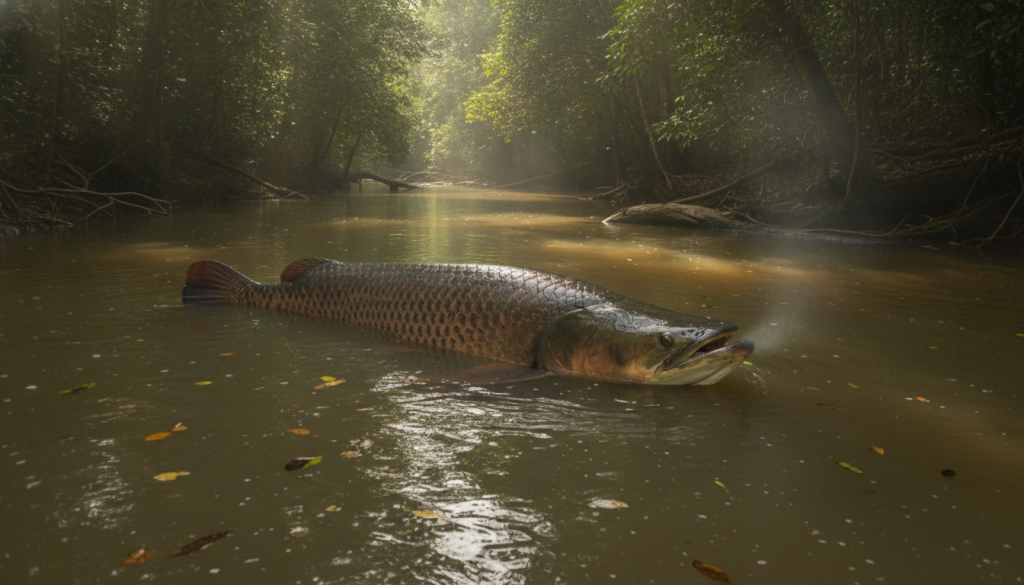
Arapaima 12wt vs 14wt Fly Line Guide (With Sink Chart)
Compare 12wt vs 14wt fly lines for 10-25ft Amazonian oxbow arapaima. See grain weight specs, sink rates (IPS), and our depth-tuning chart.
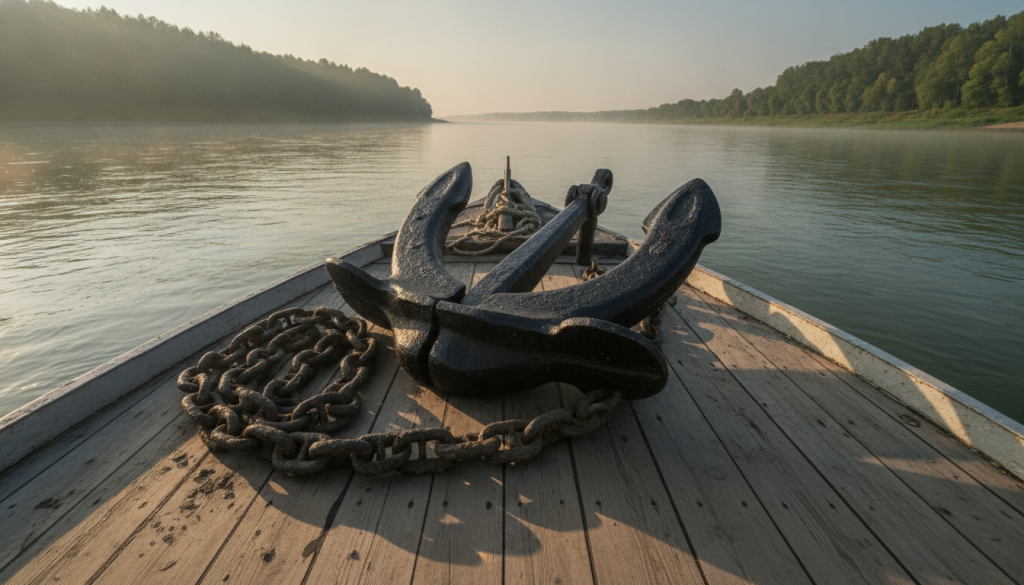
7-Knot River Anchor Scope Guide (With Calculator)
Calculate anchor rope scope, chain weight, line diameter, and buoy displacement to hold heavy sturgeon boats safely in brutal 7-knot river currents.
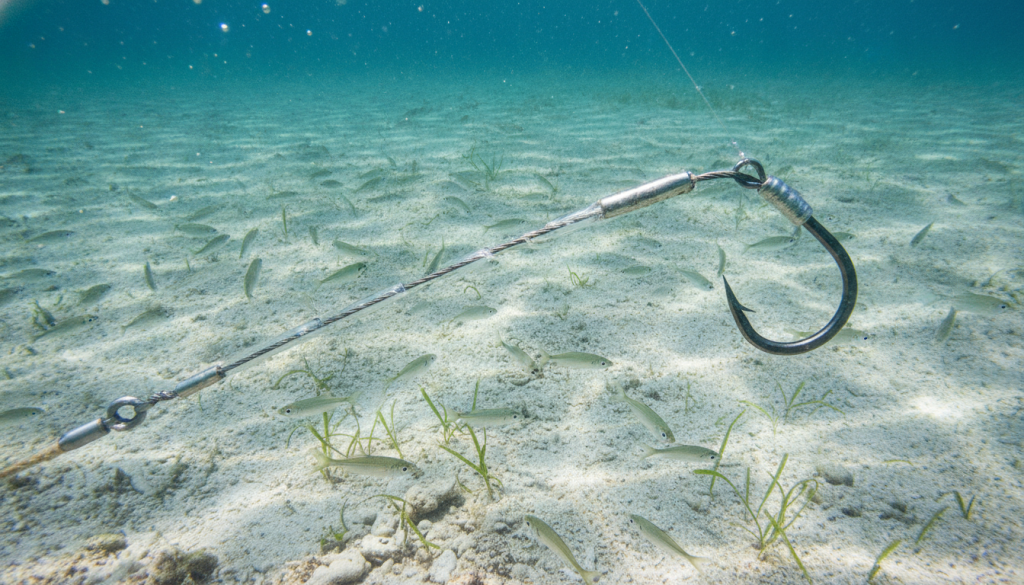
Gar Wire Rigging: Haywire vs Crimp (Bench Guide)
Master terminal rigging for 150lb+ alligator gar. Compare single-strand haywire twists against 49-strand double crimping with step-by-step bench specs.
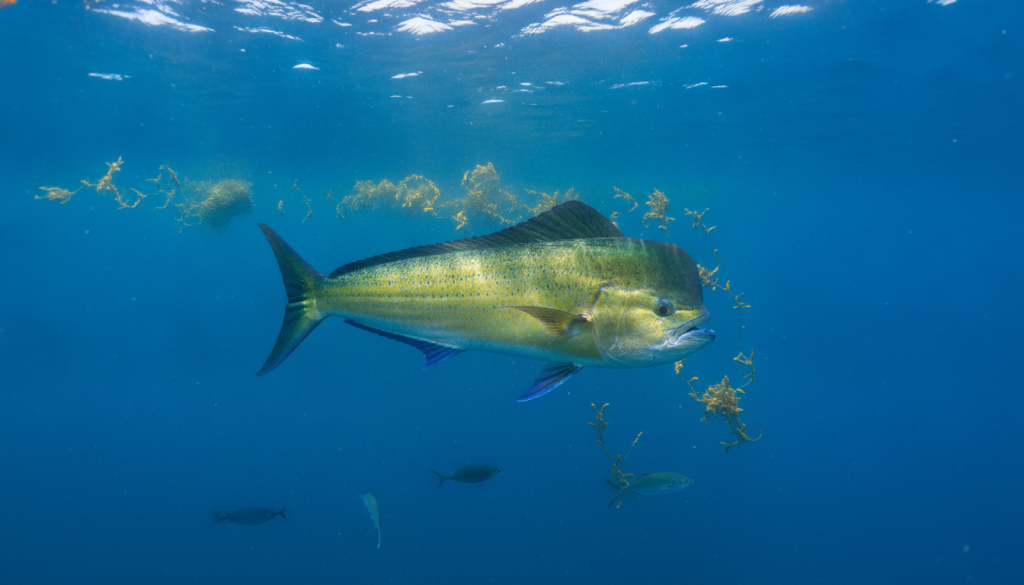
6-Rod Outrigger Spread for Bull Mahi (Distance Chart)
Rig the ultimate 6-rod outrigger spread for 50lb+ bull mahi. Get exact wake wave distances, clip heights, and lure combinations that trigger trophy strikes.
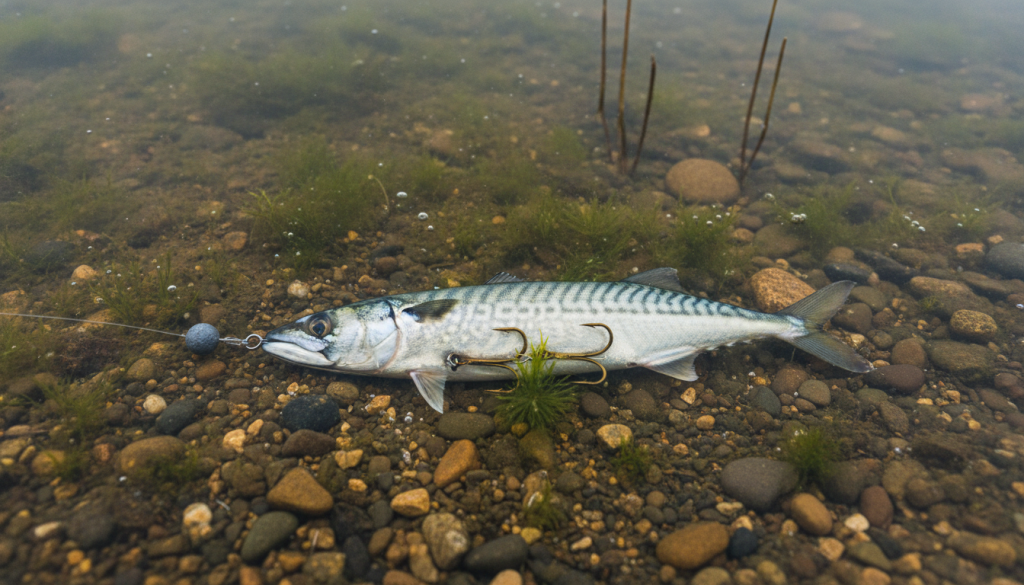
Quick-Strike Rig for 12″ Deadbaits (Exact Specs)
Build the ultimate quick-strike rig for 12-inch deadbaits. Master exact 5-inch hook spacing, 45-lb wire specs, and calibrated crimping steps.
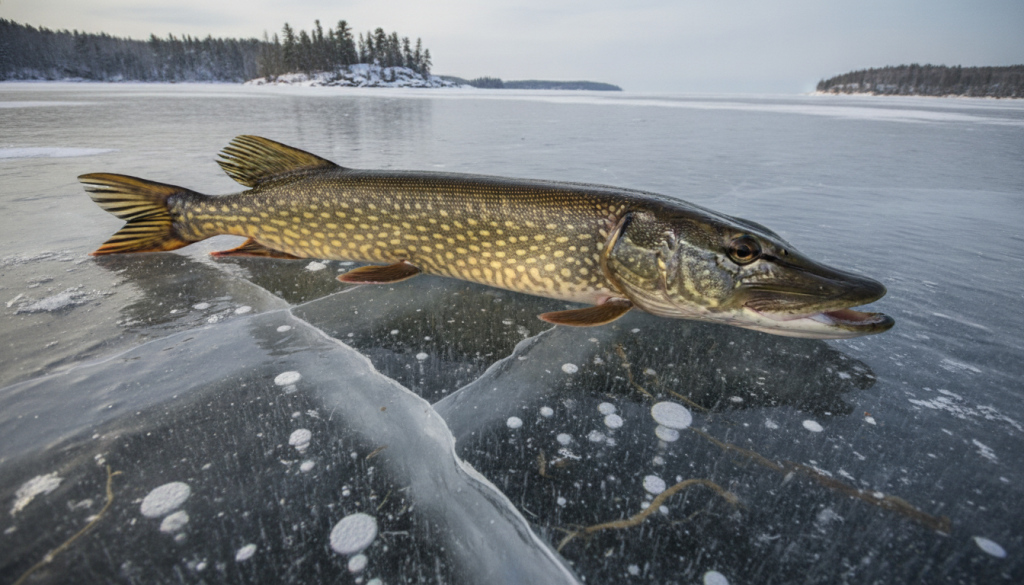
Giant Pike Quick-Strike Matrix (Rigging Chart)
Match bait weight to treble sizes and leader lengths for 40-inch+ pike. Use this quick-strike rigging matrix to eliminate gut-hooking and drop-offs.
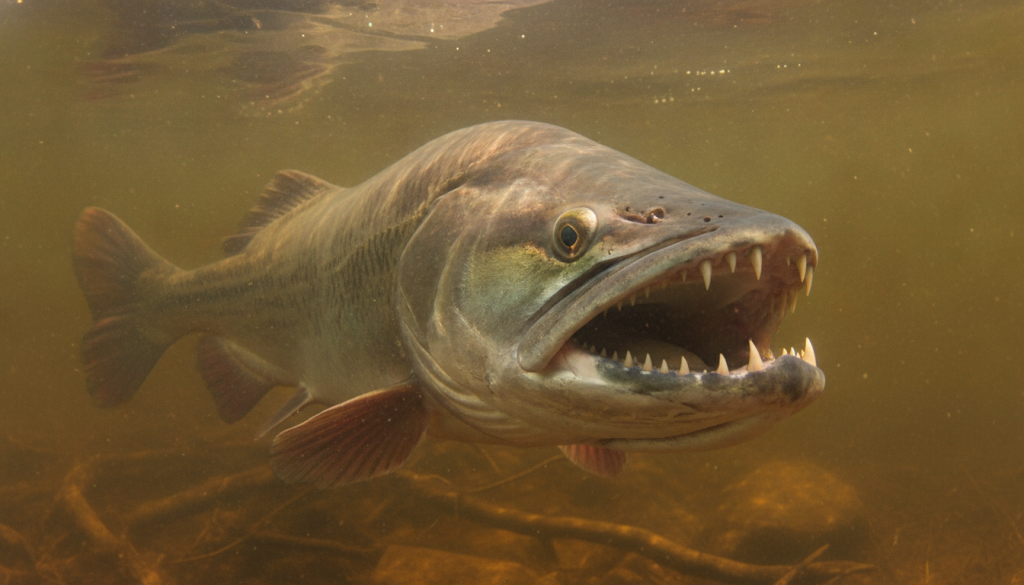
Congo River Expedition Packing (14-Day Bush Camp Sheet)
Pack for remote Goliath tigerfish angling with our 14-day Congo River checklist. Covers terminal tackle, medical safety, power, and bush camp logistics.
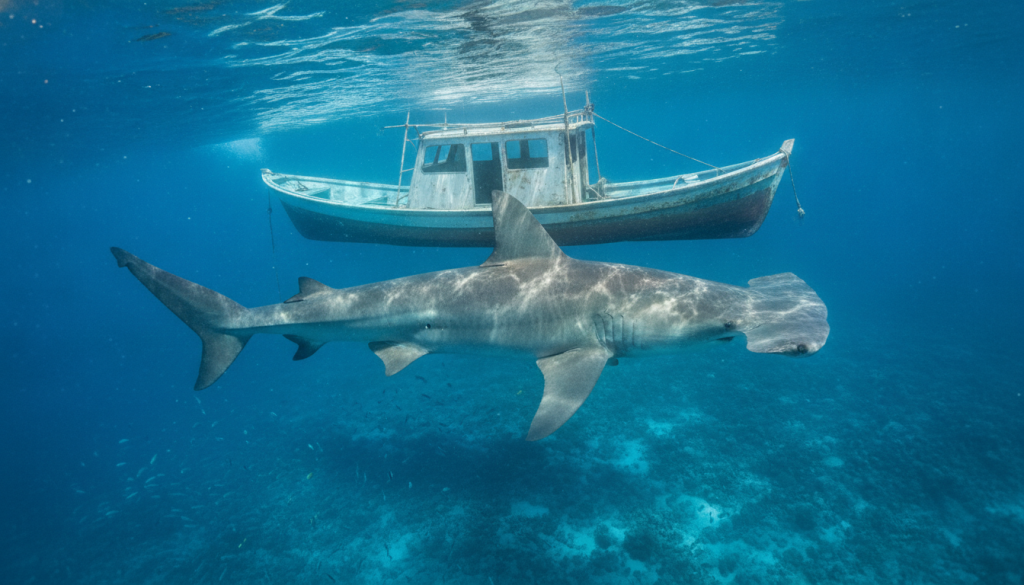
Hammerhead Shark Revival: 5-Step Boat Protocol
Master the 5-step boat-side hammerhead shark revival protocol. Reverse lethal capture acidosis with active ram ventilation, gill triage, and fast release.

7-Day Golfo Dulce Kayak Angling Plan (Checklist)
Plan your 7-day Golfo Dulce kayak fishing expedition with route-by-route inshore itineraries, target species tactics, and full emergency protocols.
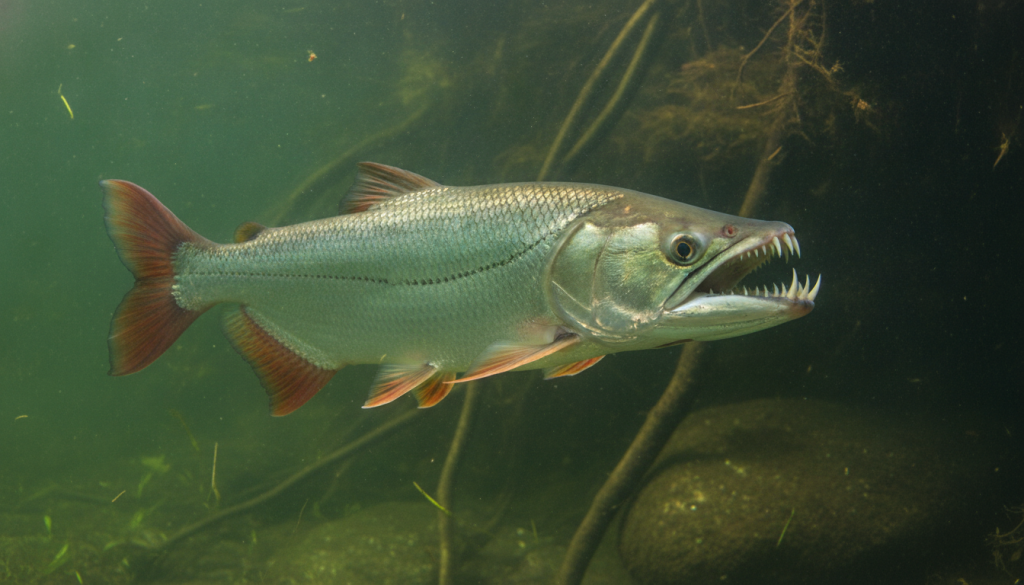
Payara Sinking Line Calculator: T-14 to T-20
Calculate the exact T-14 to T-20 tungsten tip length and grain weight needed to dredge 8-knot tailraces for trophy payara.
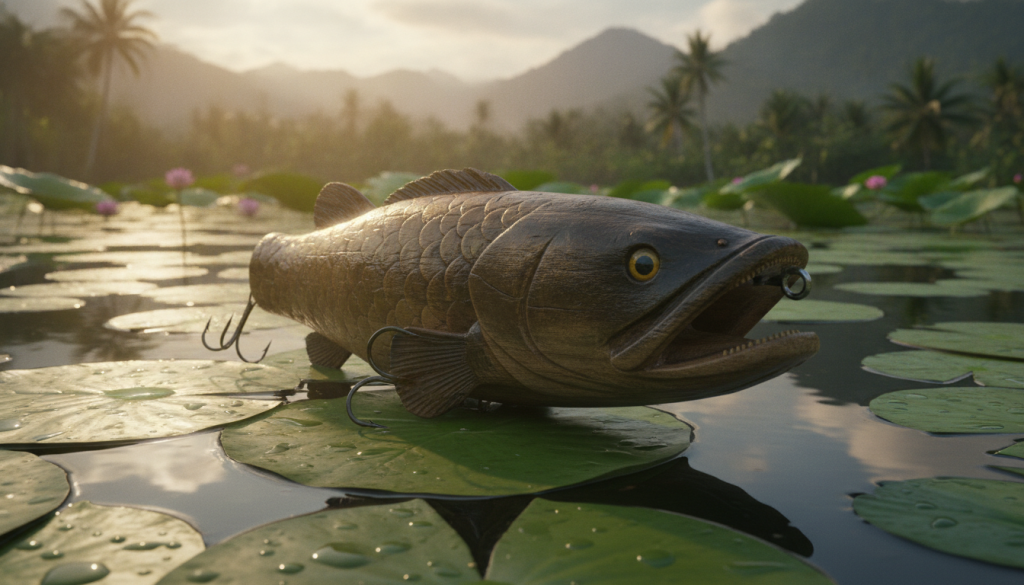
Giant Snakehead Hook Replacement: 4X & Assists (Matrix)
Upgrade factory lure hooks for giant snakehead. Match 4X trebles and single assist hooks to topwater jungle plugs without killing their surface action.
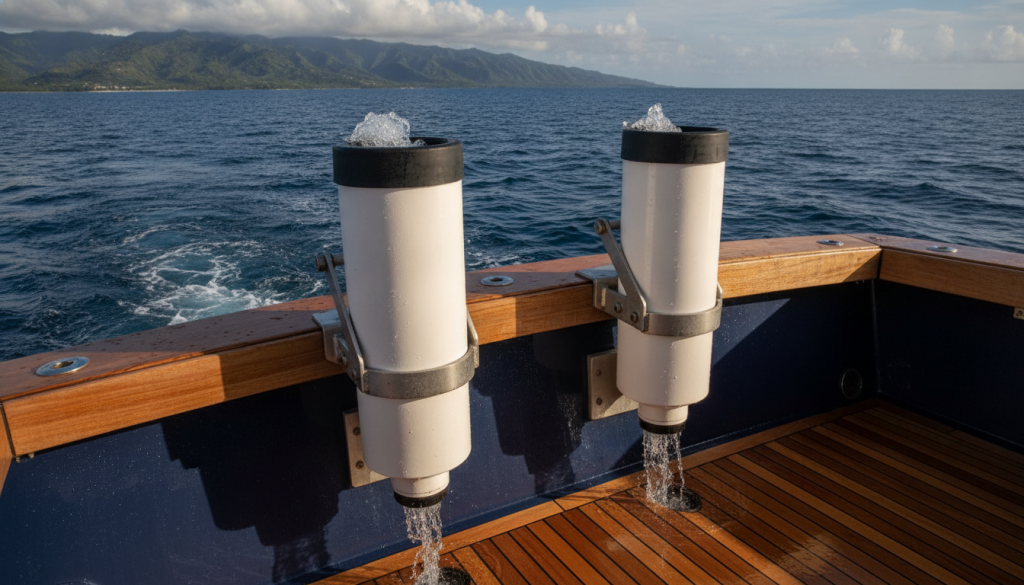
Tuna Tube GPH Sizing: Skipjack vs Bonito (Worksheet)
Calculate exact tuna tube GPH flow rates for skipjack vs. bonito. Prevent bait loss with head loss math and our pump sizing worksheet.

Downrigger Blowback: True Depth at 80-180ft (With Chart)
Calculate downrigger blowback accurately at 80 to 180 feet. Get the master line-out correction matrix, drag formulas, and rigging fixes.
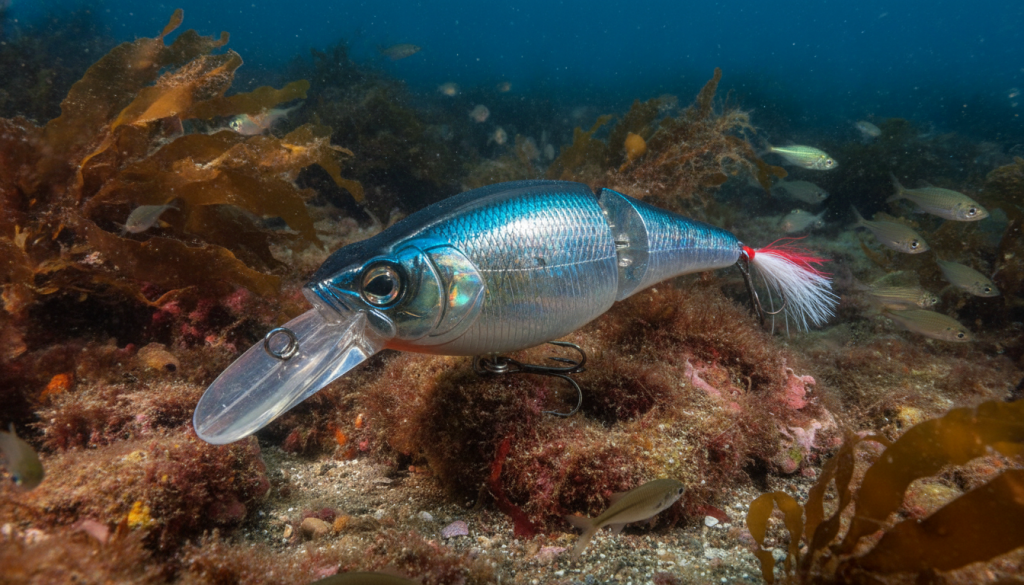
Lake Nasser Trolling: 30-60ft Depth (Line-Out Chart)
Calculate exact line-out distances to hit 30 to 60-foot structures on Lake Nasser. Master lure dive curves, braid diameter, and trolling speed.
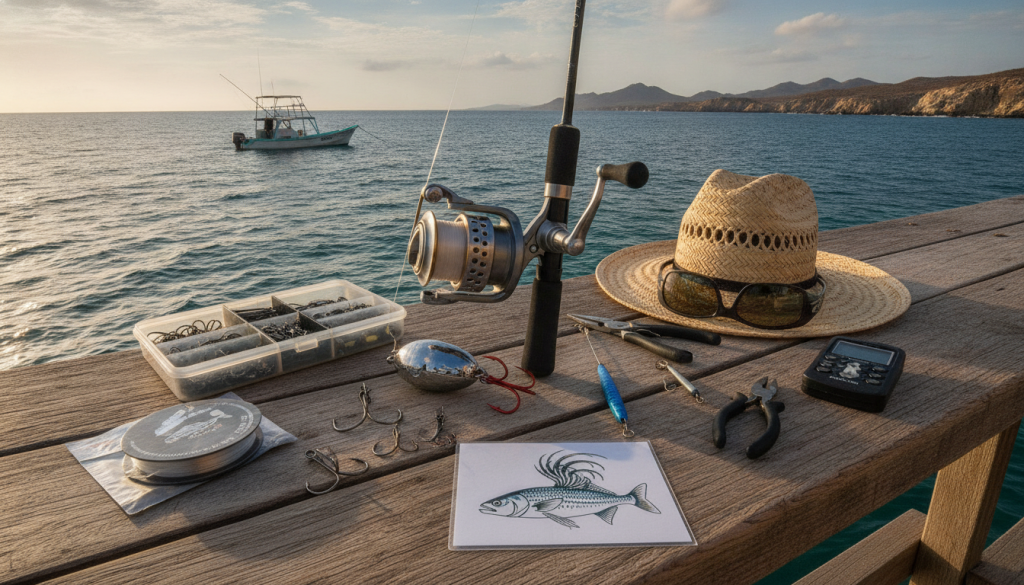
East Cape Tackle: 7 Roosterfish Essentials (Checklist)
Pack the exact terminal tackle needed to land 50lb+ East Cape roosterfish. Get leader ratings, hook upgrades, and a printable surf packing checklist.
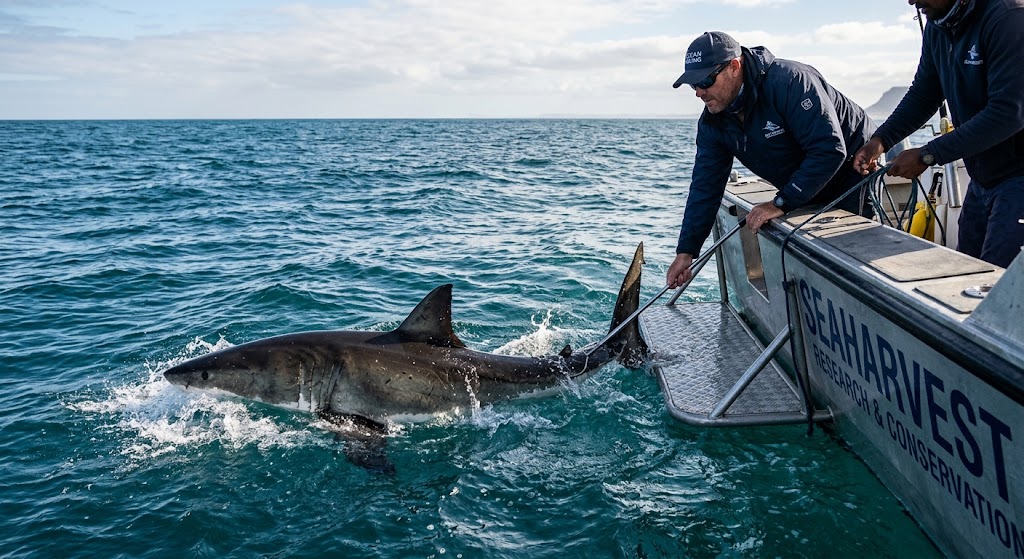
Great White Shark Release Protocol (Checklist)
Execute an immediate, legal white shark release using this step-by-step offshore protocol. Learn when to cut the leader vs de-hook safely.
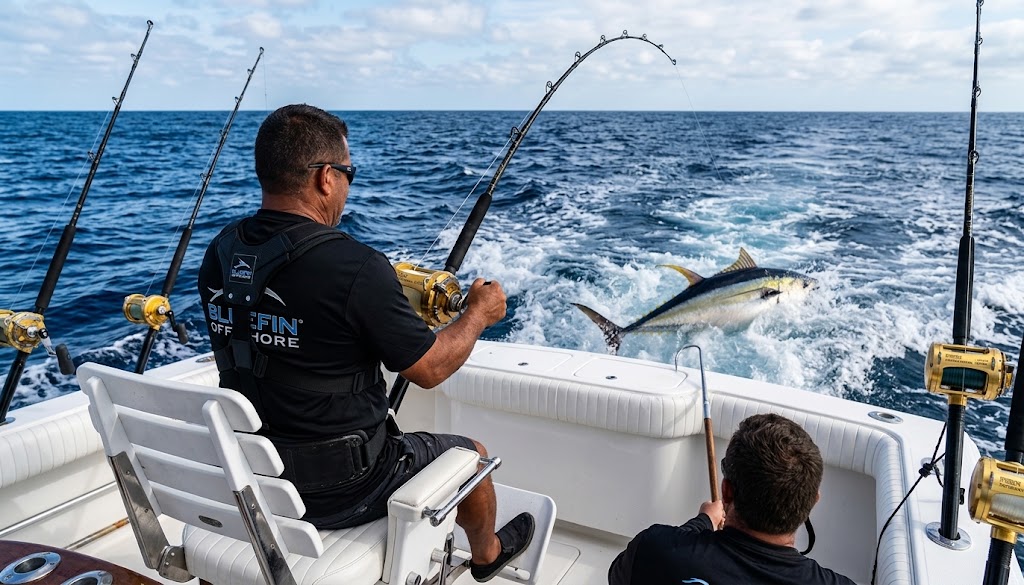
Rigging Stand-Up Harnesses for 50+ lbs Drag (Checklist)
Master stand-up harness geometry for 50+ lbs drag. Protect your spine, balance heavy tuna runs, and run our step-by-step pre-drop rigging checklist.
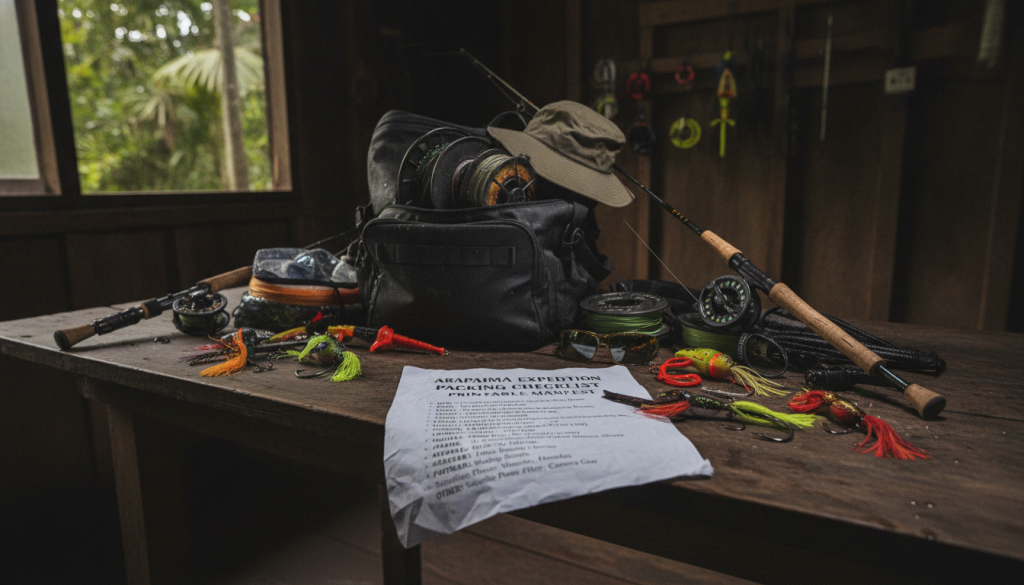
Arapaima Expedition Packing Checklist (Printable Manifest)
Pack for Guyana and Brazil arapaima trips with this complete gear manifest covering 12wt fly rods, 80lb braid, jungle medical kits, and satellite coms.
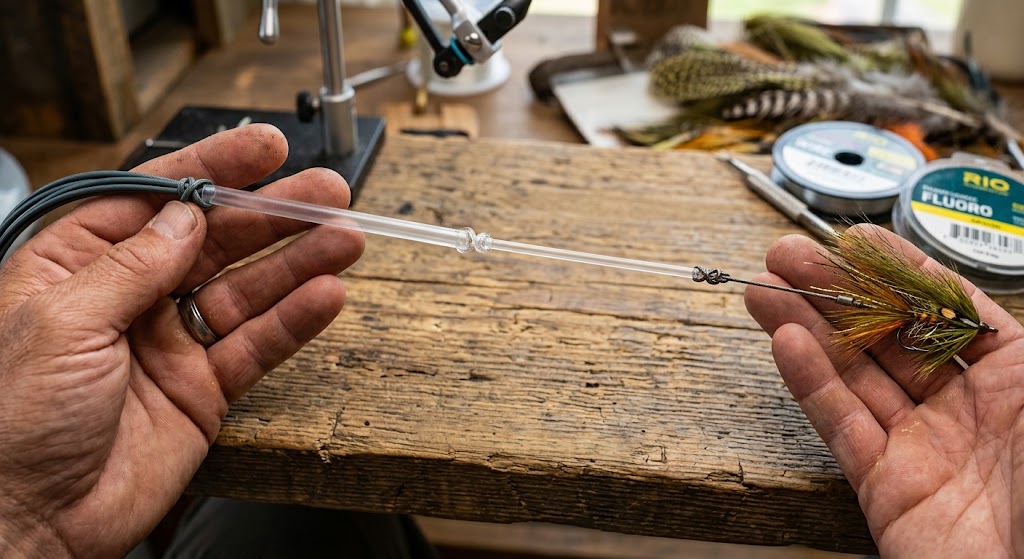
Golden Dorado Leader: 3-Stage Setup (With Calculator)
Calculate sinking line grain weights and build a bombproof 3-stage leader for fast-water golden dorado. Punch through heavy currents with zero hinge.

12 Cabo Panga Charter Questions to Ask (Checklist)
Vet Cabo panga charters before paying cash. Ask these 12 critical questions on safety, live bait, hidden fees, and gear to avoid marina scams.

Amazon Peacock Bass Propbait Tuning (Checklist)
Upgrade propbaits for Amazon peacock bass. Use exact 4X hook sizes, 100lb split ring specs, and rear-weight balance rules to land monster fish.

Best Saltwater Spinning Reels Under $300: 2026 Edition
Best Saltwater Spinning Reels Under $300: 2026 Edition The pursuit of the perfect saltwater spinning reel has historically forced anglers into a difficult paradigm: either sacrifice long-term durability for immediate affordability, or deplete fishing budgets entirely on flagship models exceeding the thousand-dollar mark. However, the mechanical engineering landscape within the tackle industry has fundamentally shifted […]